
Recently, I started self-hosting most of the apps I use, like Memos for note-taking and Paperless-NGX for document management. The next one on the list was Immich. Immich is a self-hosted photo and video backup solution that supports features like facial recognition and automatic uploads.


In this post, we’ll look at how to set up Immich as a Docker container and also how to add an NFS share as an external library.
But, Why?
I have a lot of pictures on my NAS that I’ve collected over the years. This includes photos of friends, family, and ones from my older phones. I wanted a way to manage and organise them from one place. I also didn’t want to upload all of them to Google or Apple, which would cost quite a bit. So, I decided to go with a self-hosted solution.

Since most of my pictures are already on the NAS, I initially thought about running Immich directly on it. But I wanted to decouple Immich from the image storage. The reason is that if I move to a new NAS in the future or want to add images from other sources, it’ll be easier to run Immich on one of my mini PCs and access the images via an external NFS share.
Mounting the NFS Share
As I mentioned earlier, I already have all my pictures stored on my NAS, and I’m running Immich as a Docker container on my mini PC. To make Immich see those pictures, I shared the folders from the NAS to the mini PC using NFS. I’m using a UGreen NAS, and here is the permission setup I have on it.

To mount the NFS share, I used these commands. The first command mounts the NFS share from the NAS to a local directory on the mini PC. MY_NAS_IP:/volume1/SHARED_FOLDER is the path to the shared folder on the NAS, and /mnt/nas is the mount point on the mini PC.
sudo mount MY_NAS_IP:/volume1/SHARED_FOLDER /mnt/nas

echo 'MY_NAS_IP:/volume1/SHARED_FOLDER /mnt/nas nfs defaults 0 0' | sudo tee -a /etc/fstab
The second command adds an entry to /etc/fstab so that the NFS share is automatically mounted every time the mini PC starts. It appends the configuration to the file with the necessary details about the NAS path, the mount point, the file system type (nfs), and mount options (defaults).
Running Immich with Docker Compose
I'm going to run Immich on one of my mini PCs using Docker Compose. To install Immich, you need a few files, most importantly - docker-compose.yml and .env.
The docker-compose.yml file defines all the services that make up the Immich stack, including the database and Redis. The .env file holds environment-specific variables like ports, database passwords, and paths. You can download both compose and env files from Immich’s GitHub repo. They serve as a good reference, and you can amend them as required for your setup.
Directory Structure and Files
Below is the directory structure I used for the setup.
.
├── docker-compose.yml
├── hwaccel.ml.yml
├── hwaccel.transcoding.yml
├── immich_upload
└── postgres
You also need to create the directories (immich_upload, postgres) and you can download the hwaccel files (hwaccel.ml.yml, hwaccel.transcoding.yml) from the Immich repo if you want hardware acceleration. Here are both .env file and docker-compose.yml files.
UPLOAD_LOCATION=./immich_upload
DB_DATA_LOCATION=./postgres
TZ=Europe/London
IMMICH_VERSION=release
DB_PASSWORD=HIDDEN
DB_USERNAME=HIDDEN
DB_DATABASE_NAME=immich
name: immich
services:
immich-server:
container_name: immich_server
image: ghcr.io/immich-app/immich-server:${IMMICH_VERSION:-release}
extends:
  file: hwaccel.transcoding.yml
  service: quicksync
volumes:
- ${UPLOAD_LOCATION}:/usr/src/app/upload
- /etc/localtime:/etc/localtime:ro
- /mnt/nas/Pictures:/mnt/nas/Pictures:ro
env_file:
- .env
ports:
- '2283:2283'
depends_on:
- redis
- database
restart: always
healthcheck:
disable: false
immich-machine-learning:
container_name: immich_machine_learning
image: ghcr.io/immich-app/immich-machine-learning:${IMMICH_VERSION:-release}
extends:
  file: hwaccel.ml.yml
  service: openvino
volumes:
- model-cache:/cache
env_file:
- .env
restart: always
healthcheck:
disable: false
redis:
container_name: immich_redis
image: docker.io/valkey/valkey:8-bookworm@sha256:ff21bc0f8194dc9c105b769aeabf9585fea6a8ed649c0781caeac5cb3c247884
healthcheck:
test: redis-cli ping || exit 1
restart: always
database:
container_name: immich_postgres
image: ghcr.io/immich-app/postgres:14-vectorchord0.3.0-pgvectors0.2.0@sha256:fa4f6e0971f454cd95fec5a9aaed2ed93d8f46725cc6bc61e0698e97dba96da1
environment:
POSTGRES_PASSWORD: ${DB_PASSWORD}
POSTGRES_USER: ${DB_USERNAME}
POSTGRES_DB: ${DB_DATABASE_NAME}
POSTGRES_INITDB_ARGS: '--data-checksums'
volumes:
- ${DB_DATA_LOCATION}:/var/lib/postgresql/data
restart: always
volumes:
model-cache:My mini PC has an Intel i5 8500T CPU, so I went with quicksync for hardware transcoding and openvino for machine learning. Make sure to review and update these options based on the GPU or hardware acceleration capabilities available on your system.
extends:
file: hwaccel.transcoding.yml
service: quicksync
extends:
file: hwaccel.ml.yml
service: openvino
In docker-compose.yml, I also added a volume to mount my NAS pictures (read-only)
- /mnt/nas/Pictures:/mnt/nas/Pictures:roAs always, run docker compose up -d and wait for a few minutes. After that, you should be able to log in by going to http://YOUR_IP:2283.
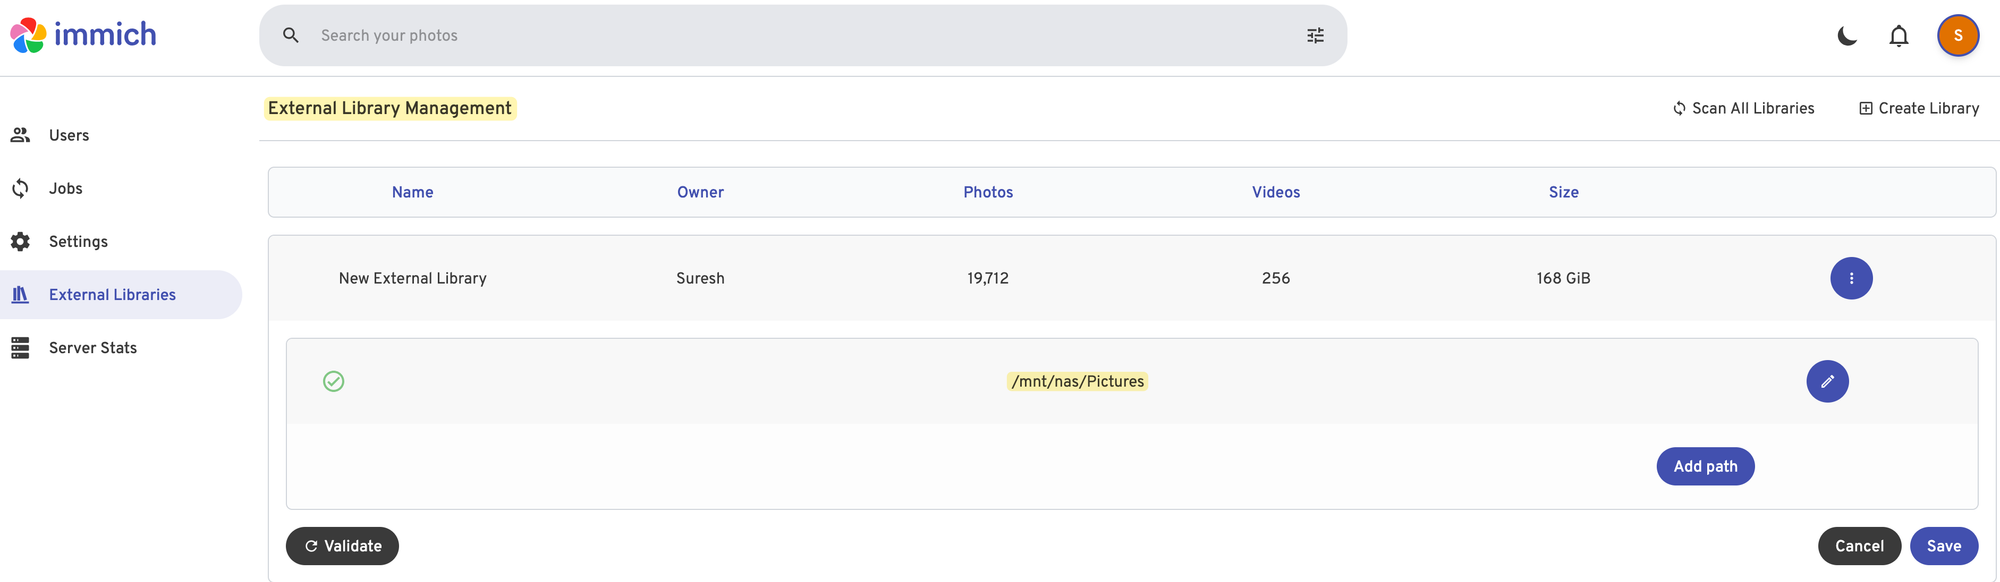
If you head over to Administration > External Libraries, you will see the NFS share we mounted earlier.
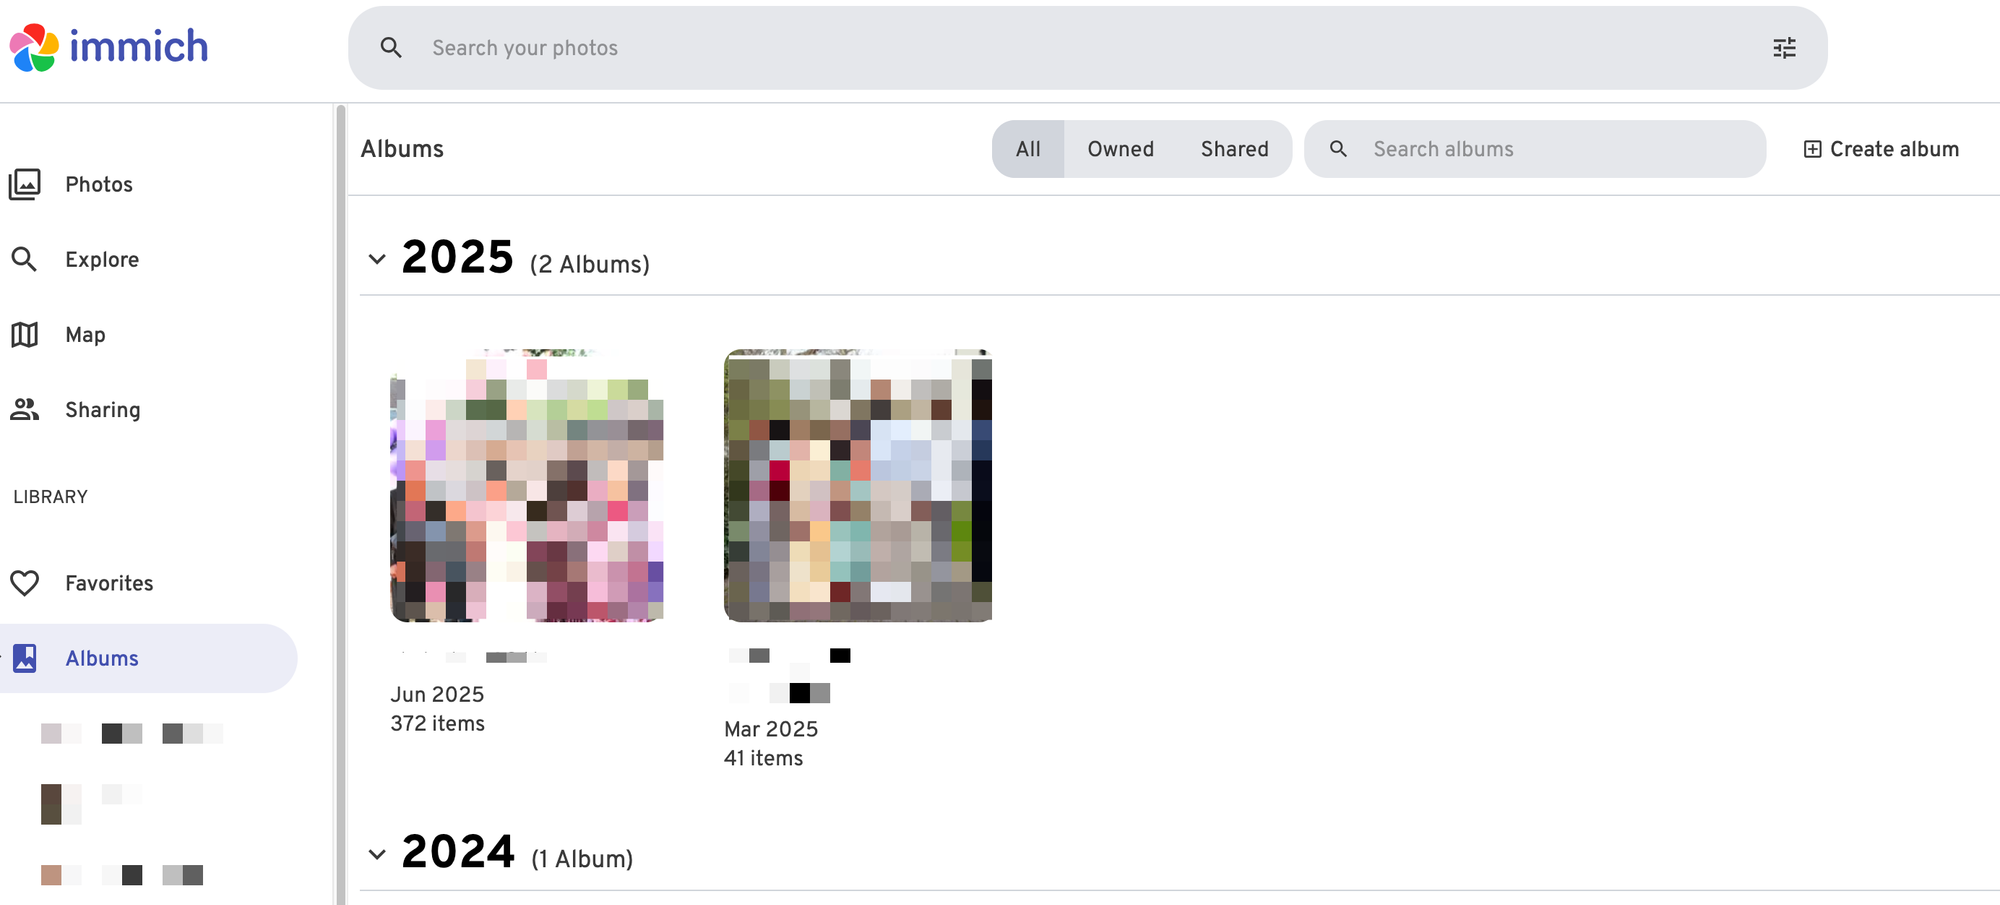
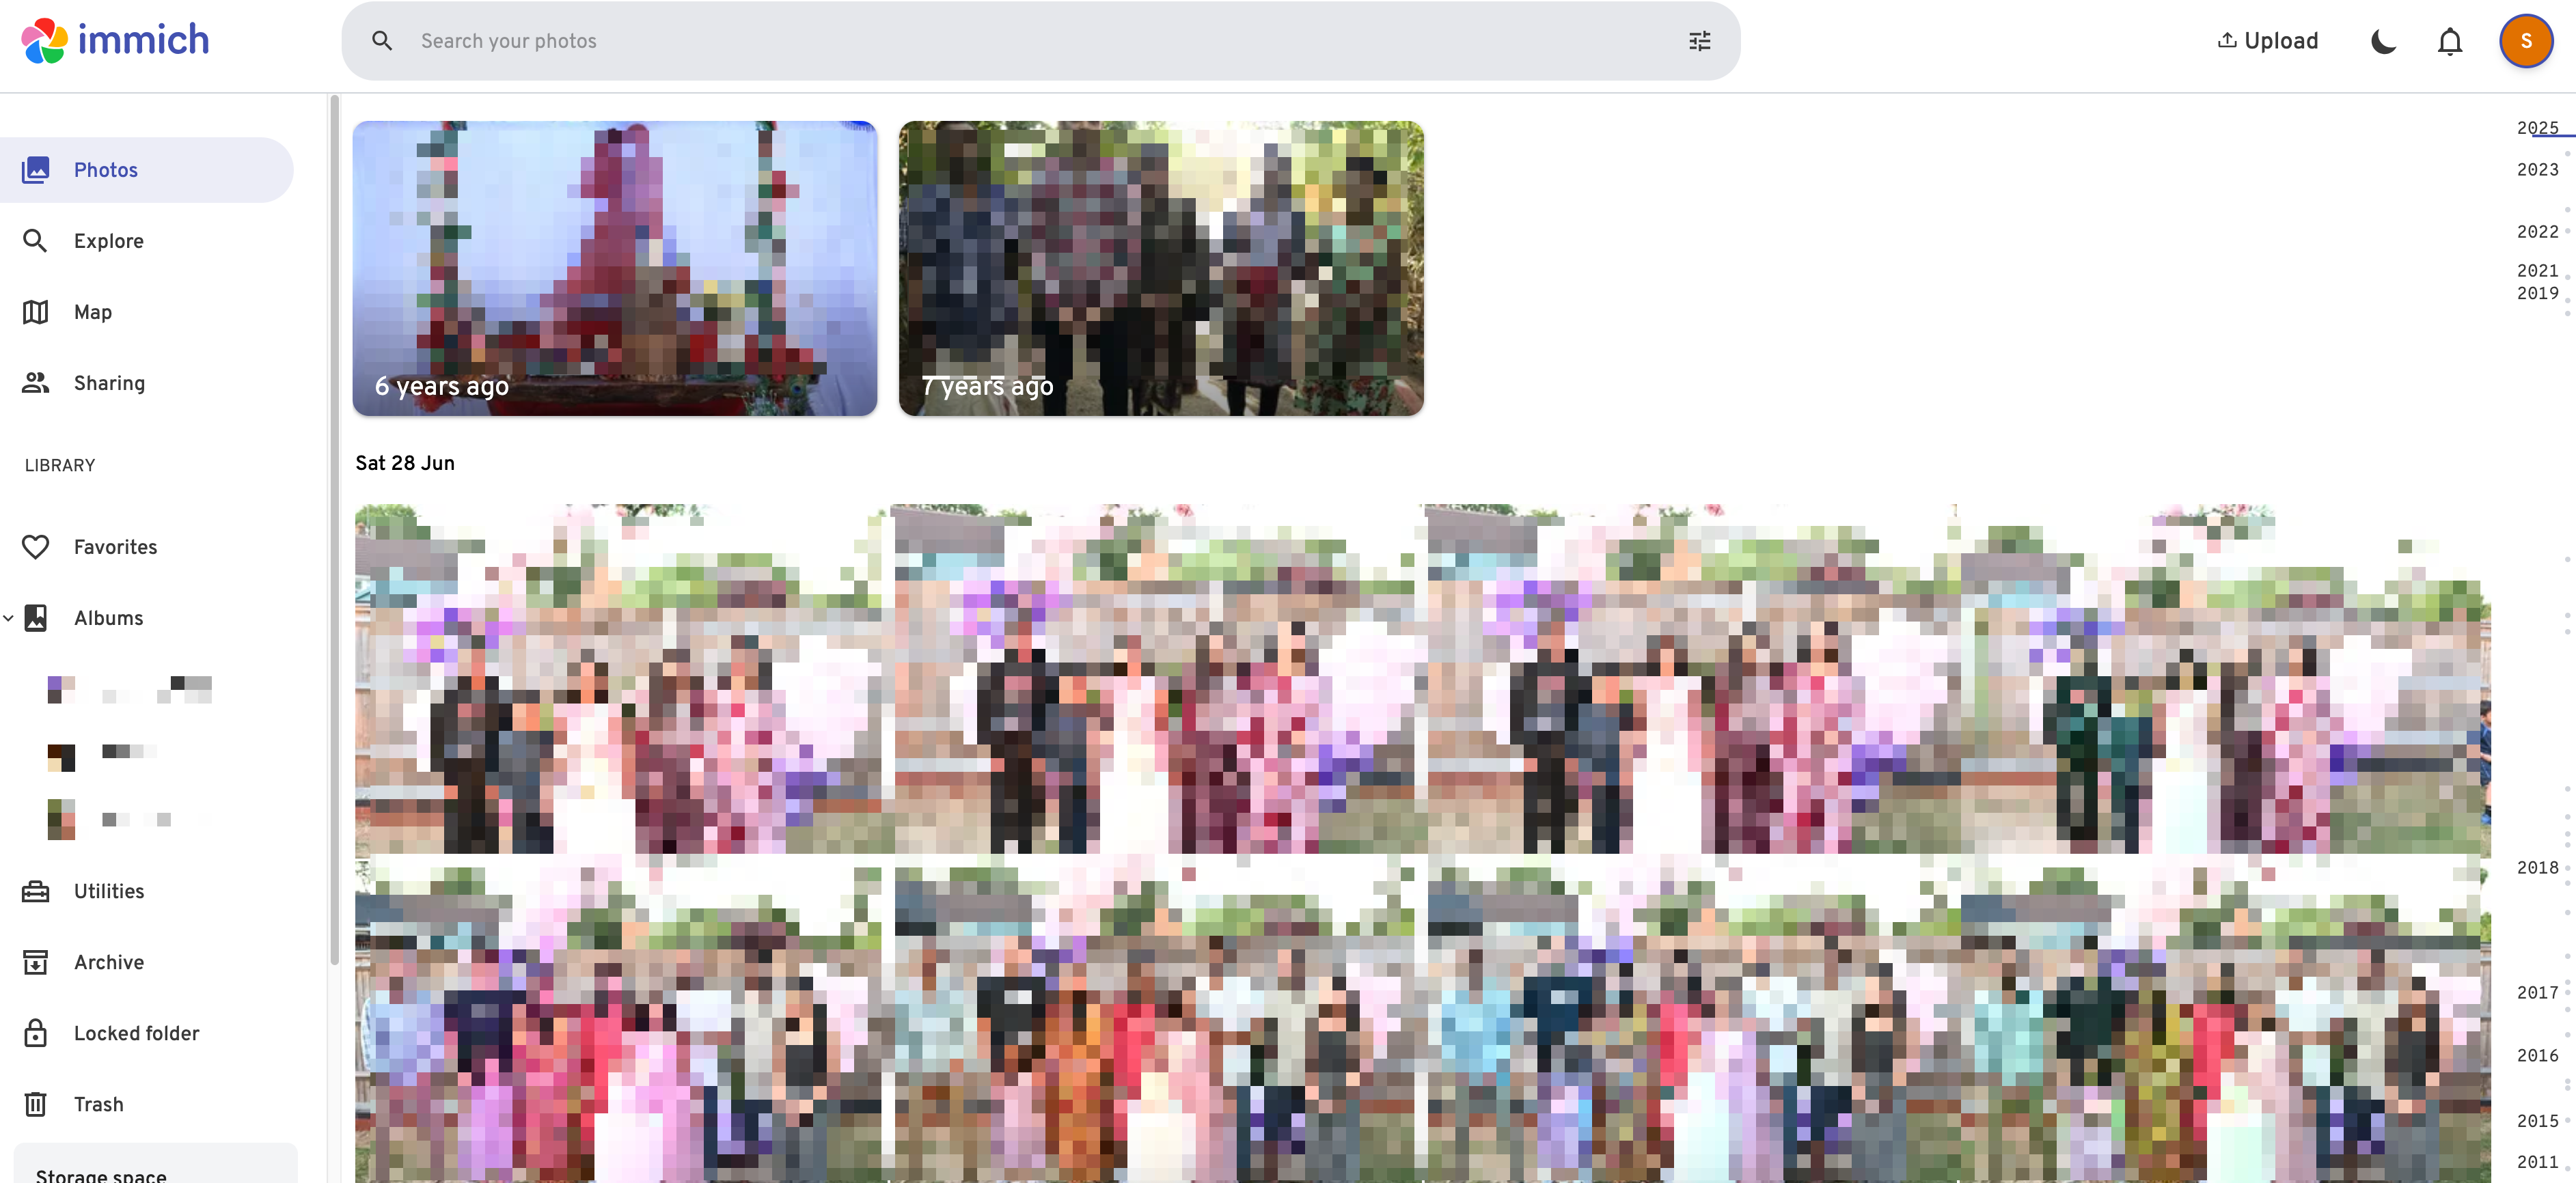
I created a few albums straight away, and Immich also does face recognition. It took a while for the initial scan to complete, but after that all I had to do was add new images to the NAS and Immich automatically picks them up, organises them by date, and lets me add them to albums.
At the moment, I haven’t set up backing up photos from my phone, but if I do, I’ll make sure to come back and update this post.