If you follow me or my blog, you may know that I moved my homelab to Proxmox. Even though I already have a physical Palo Alto firewall, I also needed to set up a Palo Alto VM. After some reading and research, and with the help of a great guide I found, I managed to get Palo Alto running on Proxmox. I thought it would be useful to write a post about it for anyone else trying to do the same.
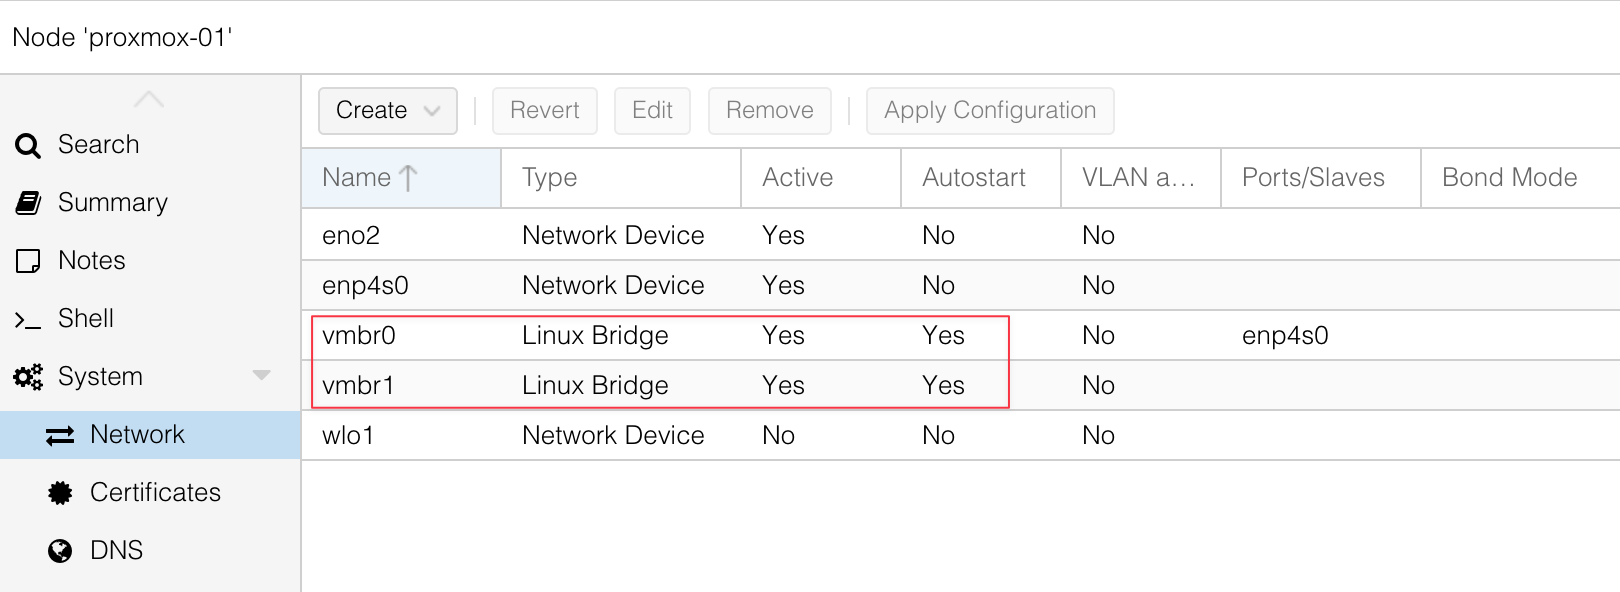
At a high level, you need to download the Palo Alto QCOW image. I’m using PAN-OS 11.2.5 and downloaded the image called PA-VM-KVM-11.2.5.qcow2. You will also need multiple network interfaces on Proxmox. With Palo Alto, you need at least two to begin with, one for management and one for data.
When I say Proxmox interfaces or NICs, I mean the virtual network adapters that you can assign to your VM. These map to your physical or virtual bridges on the Proxmox host, and they let you connect the firewall VM to different parts of your network.
The first step is to copy the Palo Alto QCOW image over to your Proxmox server. You can do this with SCP or any other method you prefer for transferring files to the host. Once the file is on Proxmox, you can move on to creating the VM itself.
I created the VM using the Proxmox GUI, and the screenshots below show the options I selected. Under General, I gave the VM a name and ID.

For the OS tab, "Do not use any media" since we are not booting from an ISO.

In the System tab, I changed the machine type to q35, BIOS to SeaBIOS, and kept the Qemu Agent enabled.

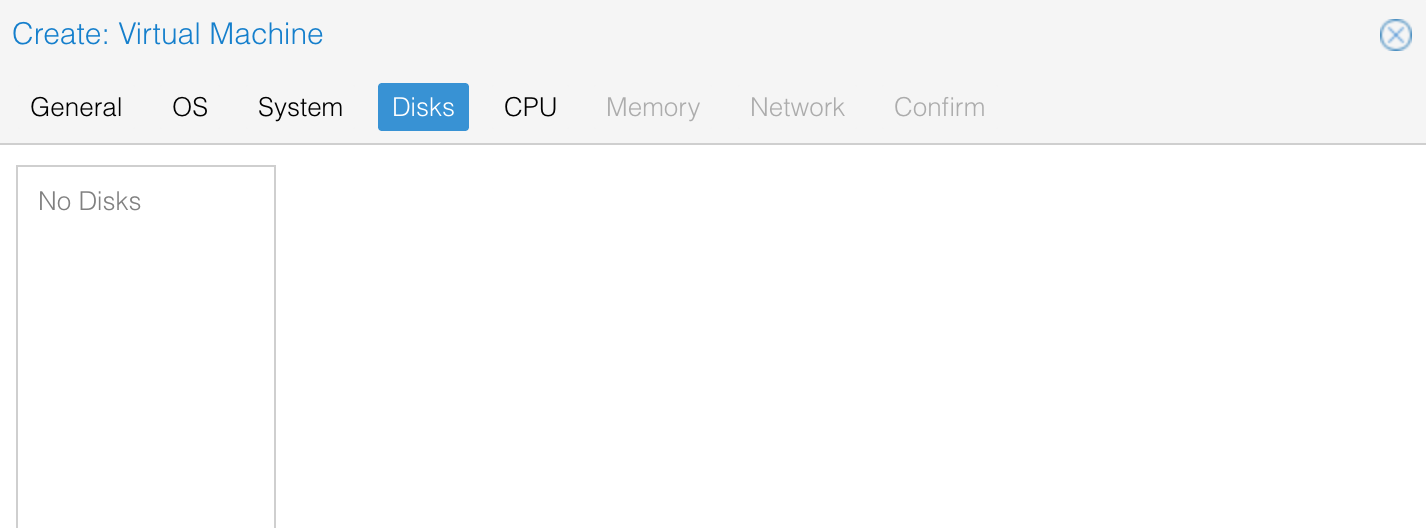
The key step when creating the VM is that you should not add a disk at this stage. The reason is that we are going to import the QCOW image as the disk for this VM, and if you add a disk during creation, Proxmox will create a placeholder one that you do not need.
On the CPU tab, I assigned 4 cores with the type set to host.

For Network, I added one NIC to start with, choosing VirtIO as the model.

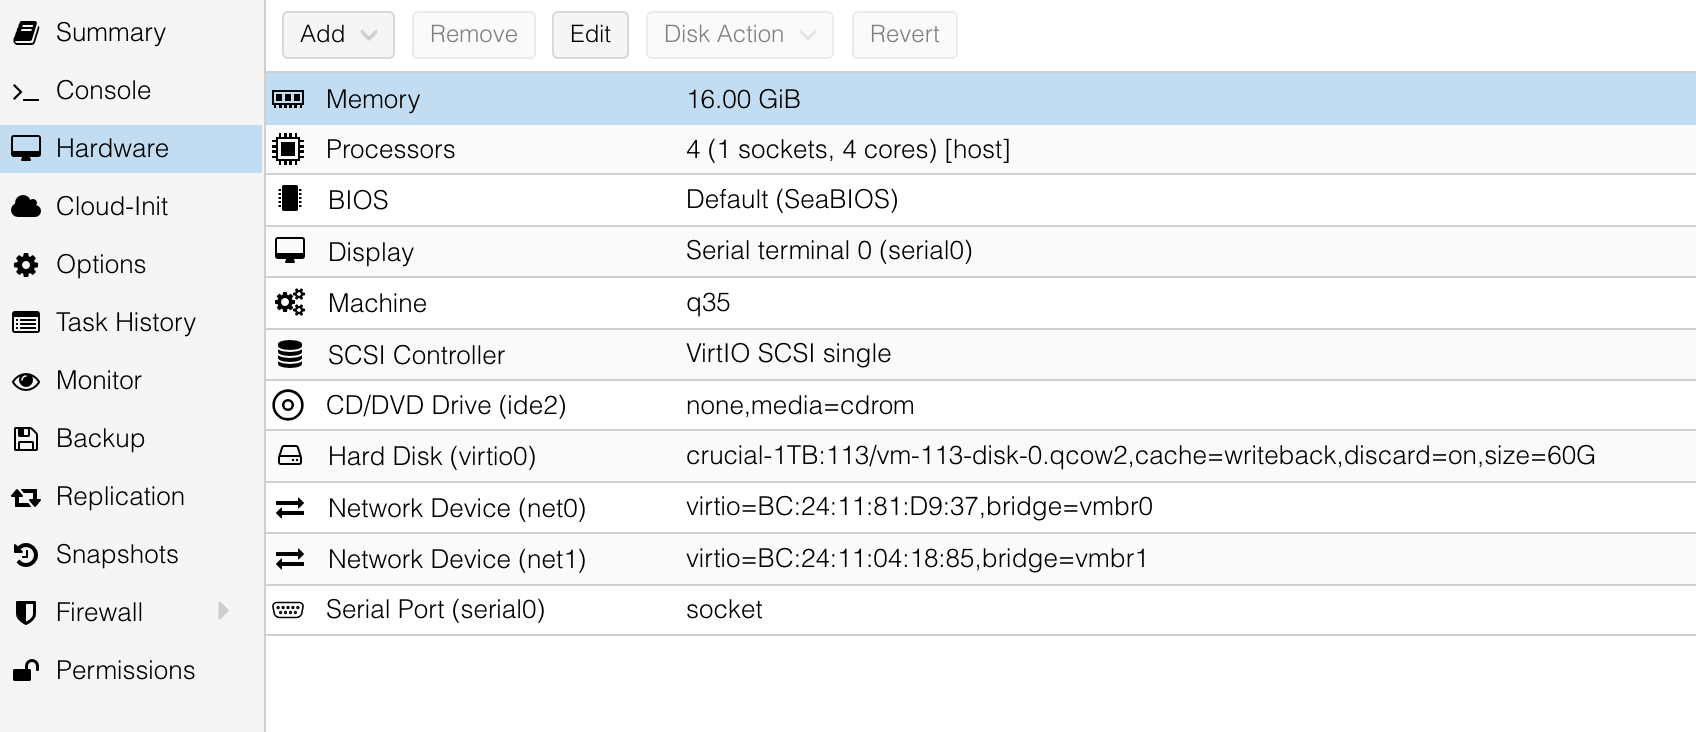
After the VM is created, go back and add the second NIC or more of them as required. Once the VM is set up, the next step is to import the QCOW image as the VM’s disk.
qm importdisk 113 PA-VM-KVM-11.2.5.qcow2 crucial-1TB --format qcow2Here, 113 is the VM ID, PA-VM-KVM-11.2.5.qcow2 is the QCOW image we copied earlier, and crucial-1TB is the Proxmox storage where I want the disk to live. The --format qcow2 ensures the disk is stored in the same QCOW2 format. This command essentially takes the raw QCOW image and attaches it to the VM’s storage pool in Proxmox.
After importing the disk, you need to attach it to the VM using the following command.
qm set 113 --virtio0 crucial-1TB:113/vm-113-disk-0.qcow2,discard=on,cache=writebackThis command tells Proxmox to use the imported QCOW file as a VirtIO disk for VM ID 113. With these, the VM now has the Palo Alto disk properly attached and ready to boot.
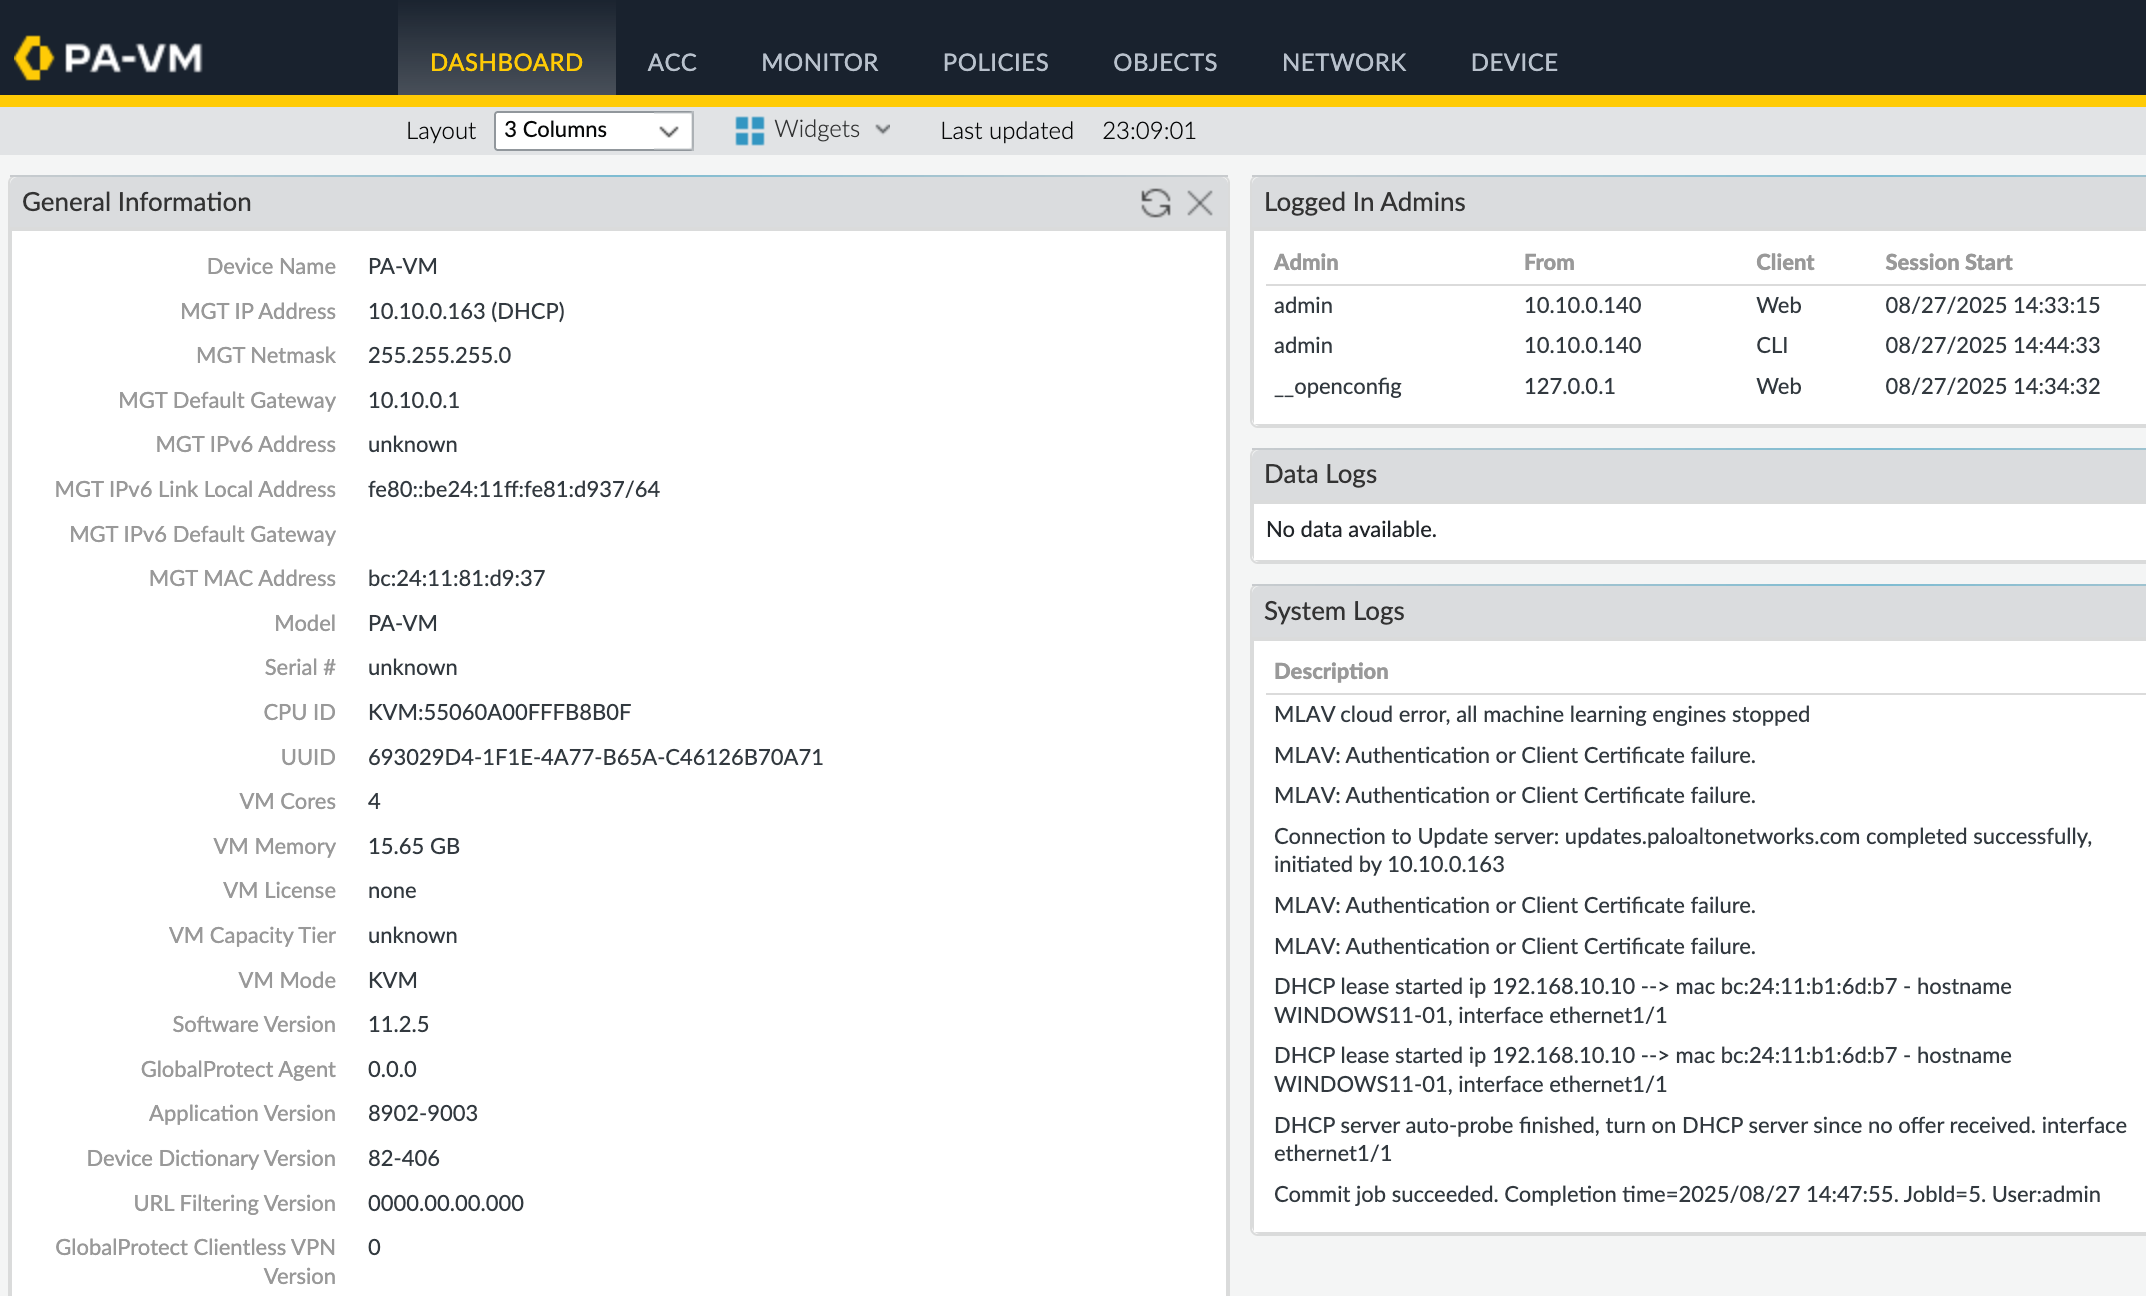
If you have DHCP running on the network where the management interface is connected, the firewall will automatically get an IP address, and you can also see it from the Proxmox console. If DHCP is not available, you need to log in to the Palo Alto VM through the CLI using the default credentials (admin/admin) and manually assign a management interface IP. You will also be prompted to change the default admin password during the first login.
set deviceconfig system type static

set deviceconfig system ip-address <Firewall-IP> netmask <netmask>
default-gateway <gateway-IP> dns-setting servers primary <DNS-IP>

commit