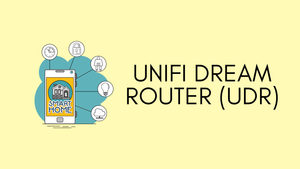
Recently, I had the opportunity to help a friend set up their own UniFi Dream Router (UDR) for their home network. To be frank, I was amazed at just how straightforward the process was.
This experience inspired me to share what I learned with all of you out there who may be wondering if this router could be the right fit for your home network.
Overview
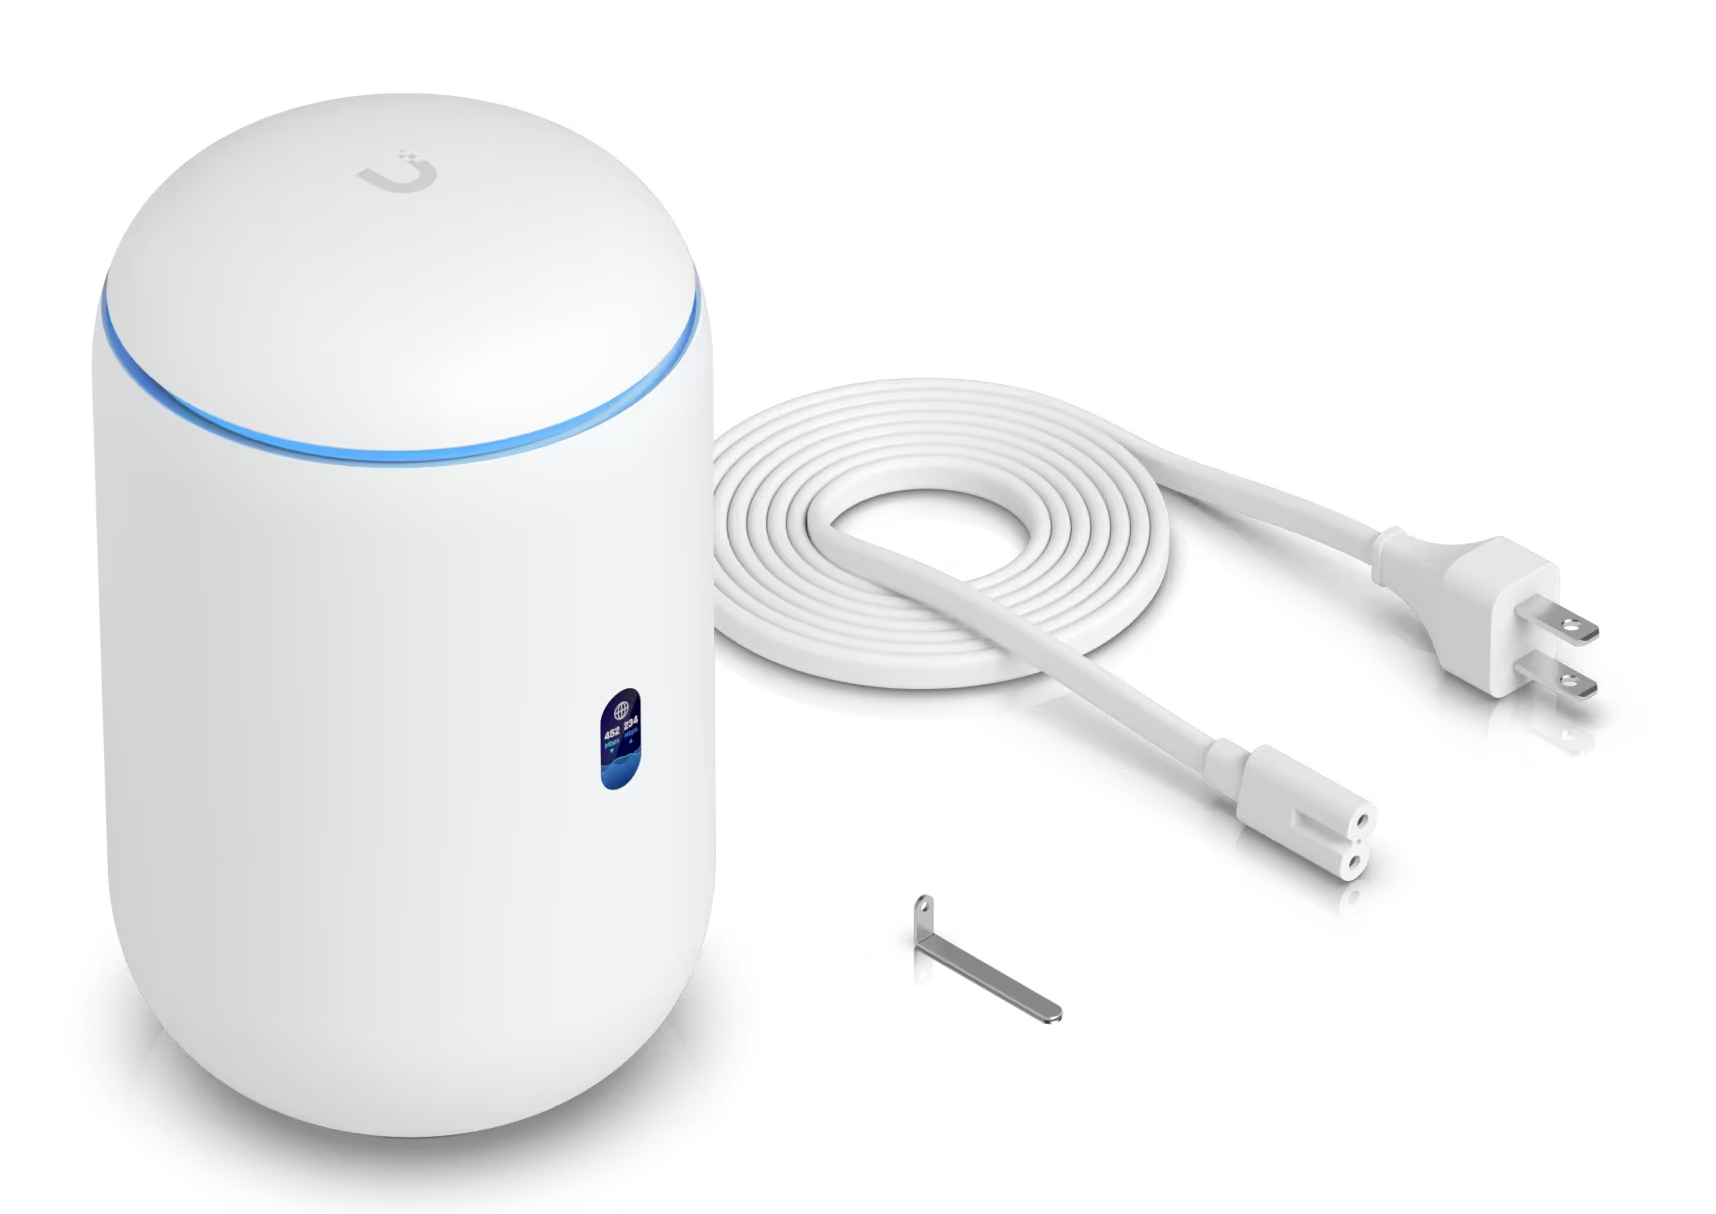
Now you might be asking, why do I think the UniFi Dream Router is one of the best for home use? Let me explain. First off, it has a built-in Access Point (AP),. Then, it has four built-in LAN switch ports and one WAN port. Two of these ports are 'PoE' ones, which means they can power devices like security cameras directly through the network cable. The router can also support a VPN, just like my friend wanted. And the best part? It doesn't need any extra licenses or separate controllers to work. It's a pretty solid all-in-one solution for your home network needs.
Home Network Design
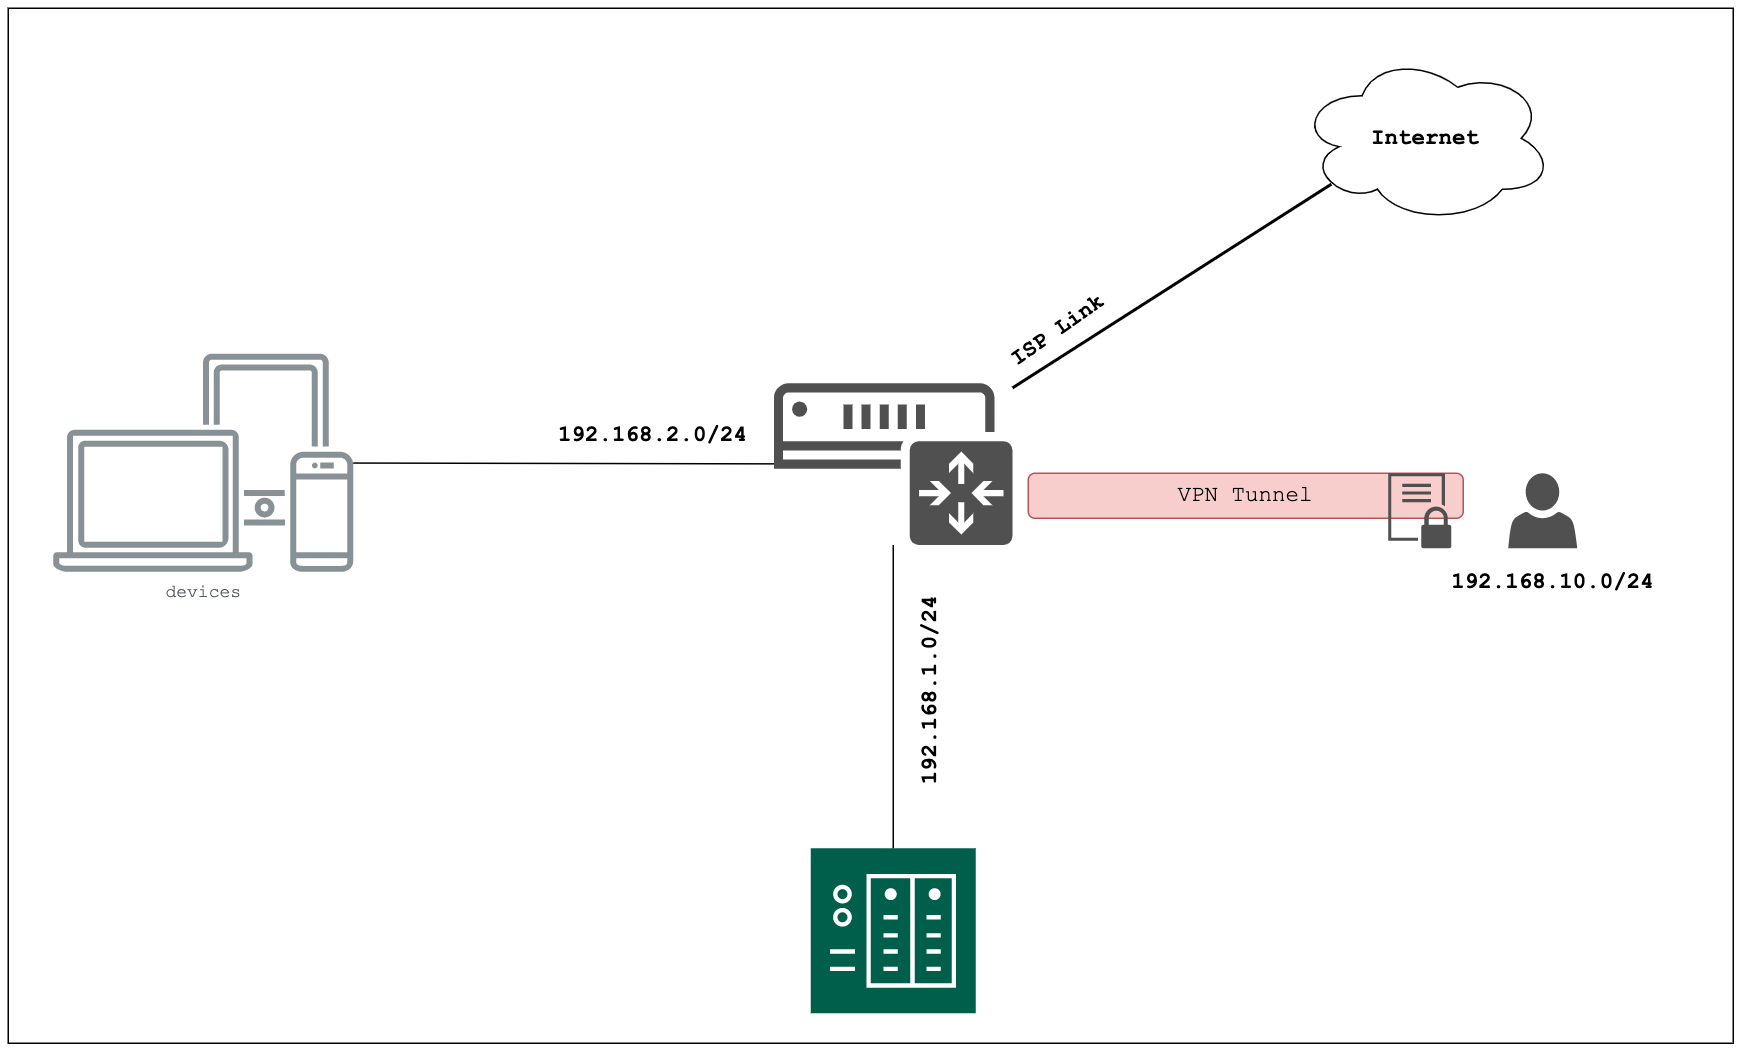
So, my friend had a pretty simple list of needs. He wanted two separate networks. One network would be for everyday things like his laptop, TV, smart devices, and printer. The second network was just for the Synology NAS. He also wanted me to set up a VPN, so his family and friends could get into the NAS and grab files whenever they needed to. The most important thing was that people using the VPN could only reach the NAS, nothing else.
 Suresh Vina
Configuration
To get started, you simply plug it in and connect your laptop to one of the router's LAN ports. By default, the router has the IP address 192.168.1.1 To connect with the router, you just need to give your laptop an IP address on the same network, like 192.168.1.10. After that, all you need to do is open a web page and go to the router's IP address. Here, you log in using your UniFi credentials and start the setup.
Next, you set up the WAN port to connect to the internet. How you do this depends on your Internet Service Provider (ISP) and what type of connection you have. Essentially, you've got two choices. The first option is to set your ISP's router to 'bridge mode'. When in bridge mode, your ISP router will simply pass along Internet traffic straight to the UDR. This means the public IP address from your ISP will be assigned to the UDR's WAN port. It's like giving your UDR a direct line to the Internet.
The second option is to leave your ISP's router as it is. This means your UDR's WAN port will receive a private IP address from your ISP router.
For my setup, I've chosen option one. I set my Virgin ISP router to bridge mode. This way, the UDR can take full charge of managing my home network. If you're following along, keep in mind your setup might be slightly different depending on your own ISP and connection type.
Once you set up the WAN port and log in to the web GUI of the UDR, it's time to set up the rest of the network. Create a Wi-Fi network (or SSID) with the network you want, like 192.168.2.0/24 in our case. Next, I connected the Synology NAS to the second LAN port on the router and gave that port a network of 192.168.1.0/24. I've also assigned the rest of the LAN ports to the 192.168.2.0/24 network.
Now, about the VPN setup. I decided to go with the L2TP VPN Server. Why? Because it works without needing to install any extra software on Windows or Mac computers (Please note UniFi recommends using either Teleport or Wireguard)
The next step was to set up the firewall rules. Firewall rules help us control who gets to see what on our network. In this case, we wanted to make sure that people using the VPN could only access the Synology NAS and nothing else. For this, I had to pick 'LAN Out' as the type of rule to set. This means that the rule applies to any traffic leaving the local network. So, I set up a rule that only allows VPN users to connect to the Synology NAS and blocks them from anything else on the network.
Alternatives
Of course, the world of home networking is vast and varied, and the UniFi Dream Router might not be the perfect fit for everyone. We all have unique needs when it comes to our home networks. If you find that the UDR's firewall and routing features don't quite meet your needs, there are other alternatives out there.
One such alternative is the Netgate 2100 pfSense firewall. Now, I haven't personally used this one, but on paper, it seems to pack quite a punch. It's praised for its advanced routing, firewall, and security features. This makes it a powerful option if you need more control over your network.
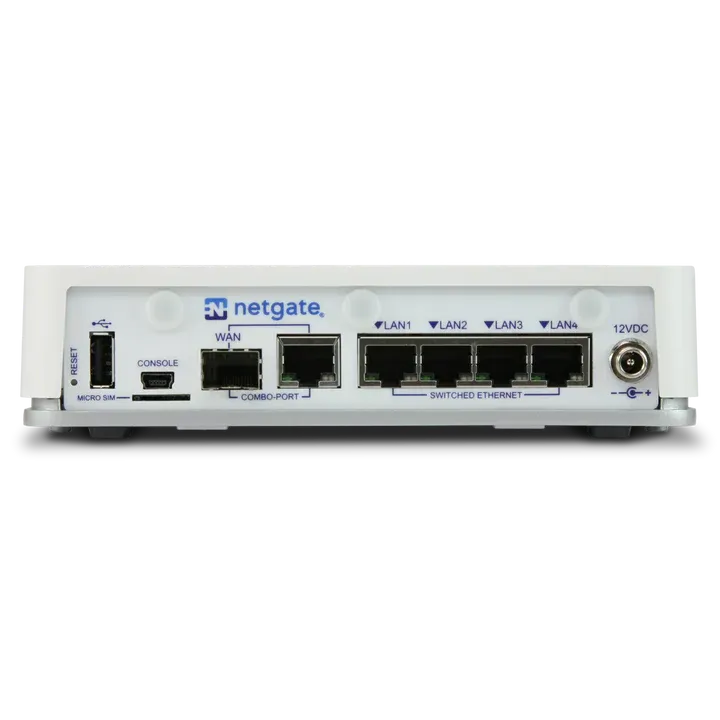

https://shop.netgate.com/products/2100-base-pfsense
However, there is a catch. Unlike the UniFi Dream Router, the Netgae 2100 does not have built-in Wi-Fi. So, if you need a wireless network at home, you'll also have to buy a separate access point. This could mean a bit of extra cost and setup. But if you're after the extra security and control, it might just be worth it.
Remember, the best router for you depends on your specific needs. It's all about finding the right balance between functionality, ease of use, and price. So take the time to consider your options before making a choice.
Conclusion
In conclusion, setting up the UniFi Dream Router was a walk in the park. Every step, from the initial setup to creating networks and setting up VPN access, was incredibly straightforward. I was genuinely impressed by the simplicity and functionality of this device. So much so, that it's got me thinking about getting a UniFi Dream Router for my own home!
So, if you're in the market for a new Router/AP/Firewall, I highly recommend giving the UniFi Dream Router a go. You might just end up loving it as much as I did. Happy networking!