
In the previous post, we have seen how to get started with Netmiko and send a single command to a Cisco device. In this second part, we will learn how to send multiple commands to multiple devices. If you haven't checked my previous post already, I highly recommend reading it first and coming back here.
 Suresh Vinasiththamby
Send multiple configuration commands to a single device
Let's get real here, we don't use automation to send a single command to a single device, we want to send multiple commands (a mixture of show and config commands) using a single python script. Netmiko provides a way to achieve this via the send_config_set method.
send_config_set method,
- Automatically enters to
global configurationmode - After running the configs, it automatically exists the
global configurationmode
As an example, let's say we want to configure a description on the switch-port and then create an ACL. send_config_set method is very useful in this instance.
from netmiko import ConnectHandler
import getpass

passwd = getpass.getpass('Please enter the password: ')

cisco_01 = {
    "device_type": "cisco_ios",
    "host": "10.10.20.17",
    "username": "cisco",
    "password": passwd, # Log in password from getpass
    "secret": passwd # Enable password from getpass
}

connection = ConnectHandler(**cisco_01)
connection.enable()

config_commands = ['interface gi0/0', 'descri WAN', 'exit', 'access-list 1 permit any']
connection.send_config_set(config_commands)

print('Closing Connection')
connection.disconnect()
As you can see above, I created a list of configuration commands that need to be pushed to the device and then used that list with the send_config_set method.
The first command will configure the description on the gi0/0 interface and the second command will create an ACL. After executing the script, we can verify the config on the device.
cisco-01#show interfaces description
Interface                      Status         Protocol Description
Gi0/0                          up             up       WAN
Gi0/1                          admin down     down
Gi0/2                          admin down     down
Gi0/3                          admin down     down

cisco-01#show access-lists
Standard IP access list 1
    10 permit any
Connect to multiple devices
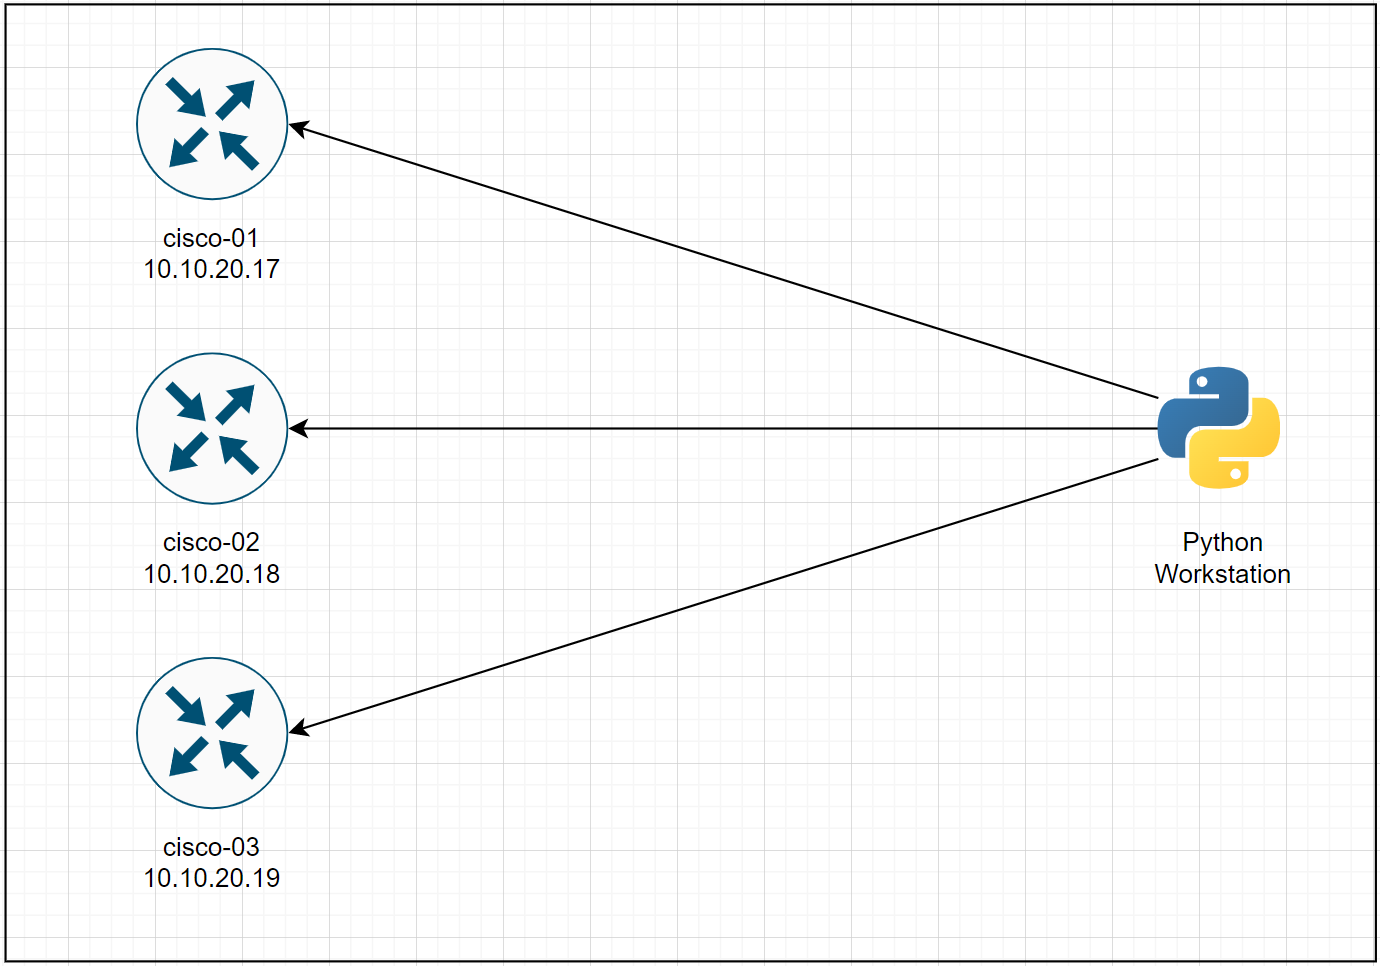
So far we've seen how to access a single device using Netmiko. In this example, we will learn how to connect to multiple devices by making a small tweak.
I set up three devices with the same user credentials for the sake of simplicity. First, we will send show commands to all three devices and later in the post, we will send configuration commands.
Send show commands to multiple devices
In Part-1, we defined the device parameters in a Python Dictionary and pass them to the Netmiko ConnectHandler. The same concept applies here, the only difference here is that we will have a list of dictionaries. Each dictionary within the list contains the device parameters. Below is my poor attempt to visualise where the list called device_list contains the dictionaries of all three devices.

Let's say we want Python to login into each device and run show run | incl hostname and print the output. The script will look like the following.
from netmiko import ConnectHandler
import getpass

passwd = getpass.getpass('Please enter the password: ')

my_devices = ['10.10.20.17', '10.10.20.18', '10.10.20.19'] #list of devices
device_list = [] #create an empty list to use it later

for device_ip in my_devices:
    device = {
        "device_type": "cisco_ios",
        "host": device_ip,
        "username": "cisco",
        "password": passwd, # Log in password from getpass
        "secret": passwd # Enable password from getpass
    }
    device_list.append(device)

print(device_list) #list of dictionaries

for each_device in device_list:
    connection = ConnectHandler(**each_device)
    connection.enable()
    print(f'Connecting to {each_device["host"]}')
    output = connection.send_command('show run | incl hostname')
    print(output)

    print(f'Closing Connection on {each_device["host"]}')
    connection.disconnect()
If I print the device_list Python list, it would look like the following.
[{'device_type': 'cisco_ios', 'host': '10.10.20.17', 'username': 'cisco', 'password': 'cisco123', 'secret': 'cisco123'}, {'device_type': 'cisco_ios', 'host': '10.10.20.18', 'username': 'cisco', 'password': 'cisco123', 'secret': 'cisco123'}, {'device_type': 'cisco_ios', 'host': '10.10.20.19', 'username': 'cisco', 'password': 'cisco123', 'secret': 'cisco123'}]Okay, it looks very unreadable, let's make it 'pretty'. We can use Python json module which converts a Python object (dictionary in our case) into a JSON string. By adding these three lines, we can get a human-readable output.
import json

json_formatted = json.dumps(device_list, indent=4)
print(json_formatted)
[
{
"device_type": "cisco_ios",
"host": "10.10.20.17",
"username": "cisco",
"password": "cisco123",
"secret": "cisco123"
},
{
"device_type": "cisco_ios",
"host": "10.10.20.18",
"username": "cisco",
"password": "cisco123",
"secret": "cisco123"
},
{
"device_type": "cisco_ios",
"host": "10.10.20.19",
"username": "cisco",
"password": "cisco123",
"secret": "cisco123"
}
]If I run the script now, I will get the following output.
PS C:\Users\vsurr\Documents\Projects\netmiko-multiple-device.py

Please enter the password:
Connecting to 10.10.20.17
hostname cisco-01
Closing Connection on 10.10.20.17
Connecting to 10.10.20.18
hostname cisco-02
Closing Connection on 10.10.20.18
Connecting to 10.10.20.19
hostname cisco-03
Closing Connection on 10.10.20.19
Send configuration commands to multiple devices
In this example, we will learn how to send multiple 'configuration commands' to the three devices.
from netmiko import ConnectHandler
import getpass

passwd = getpass.getpass('Please enter the password: ')

my_devices = ['10.10.20.17', '10.10.20.18', '10.10.20.19']
device_list = list() #create an empty list to use it later

for device_ip in my_devices:
    device = {
        "device_type": "cisco_ios",
        "host": device_ip,
        "username": "cisco",
        "password": passwd, # Log in password from getpass
        "secret": passwd # Enable password from getpass
    }
    device_list.append(device)

print(device_list)

config_commands = ['access-list 5 permit host 1.1.1.1', 'ntp server 192.168.1.1' ]

for each_device in device_list:
    connection = ConnectHandler(**each_device)
    connection.enable()
    print(f'Connecting to {each_device["host"]}')
    output = connection.send_config_set(config_commands)
    print(output)

    print(f'Closing Connection on {each_device["host"]}')
    connection.disconnect()
As you can see below, Python logins to all three routers and ran the configuration commands we specified in the script.
PS C:\Users\vsurr\Documents\Projects\python-learning\multiple-device-config-commands.py
Please enter the password:
Connecting to 10.10.20.17
configure terminal
Enter configuration commands, one per line.  End with CNTL/Z.
cisco-01(config)#access-list 5 permit host 1.1.1.1
cisco-01(config)#ntp server 192.168.1.1
cisco-01(config)#end
cisco-01#
Closing Connection on 10.10.20.17
Connecting to 10.10.20.18
configure terminal
Enter configuration commands, one per line.  End with CNTL/Z.
cisco-02(config)#access-list 5 permit host 1.1.1.1
cisco-02(config)#ntp server 192.168.1.1
cisco-02(config)#end
cisco-02#
Closing Connection on 10.10.20.18
Connecting to 10.10.20.19
configure terminal
Enter configuration commands, one per line.  End with CNTL/Z.
cisco-03(config)#access-list 5 permit host 1.1.1.1
cisco-03(config)#ntp server 192.168.1.1
cisco-03(config)#end
cisco-03#
Closing Connection on 10.10.20.19
Closing up
I hope both articles were easy to follow and helpful in your automation journey. If you have any comments or feedback, please let me know in the comments.