As a Network Engineer or someone working in IT, I always needed a firewall for my home network. Whether it's for learning purposes or using a VPN to connect back home while working remotely, having a reliable firewall is essential. If you are a small company, you might also need a free or cost-effective firewall for various experiments. The use cases can be anything.
There are numerous paid and free options out there, but VyOS stands out with its powerful enterprise-level features. In this blog post, I'll show you how easy it is to get started with the VyOS router/firewall. We'll cover how to download it, installation options, and some basic configurations. So, let's get started.
Why VyOS?
There are numerous free and paid firewalls out there. Of course, I would love to have the latest and greatest firewalls like Palo Alto or FortiGate, but they are way over my budget. Even if I could afford the hardware, there are ongoing license costs. So, they just go out the window for me. You also have mid-tier firewalls like UniFi or Sophos but again the features are limited and they are not cheap either.
For budget options, you have MikroTik, which is a great firewall/router. I even own one. However, the one thing I don't like about MikroTik is the GUI, which I find very unintuitive (maybe it's just me), and I didn't really understand the CLI. But again, it's such a great little device and gets the job done.
When it comes to open-source firewalls, the popular ones (AFAIK) are PfSense, OPNSense and VyOS. Personally, I never tried pfSense, but I believe it ticks most of the boxes. But our focus today is VyOS. I've used VyOS's predecessor, Vyatta, about 5-6 years ago and really liked the CLI. It's similar to Junos and supports features like commit, running, and candidate configuration.
VyOS define themselves as 'We fundamentally believe that internet access is as vital to our human development as air, food, water, and healthcare. Built by engineers for engineers, VyOS is an open-source software company that democratizes how we access networks so that the many, not the few, benefit from building solutions without limitations and prohibitive fees.'
Installation Options
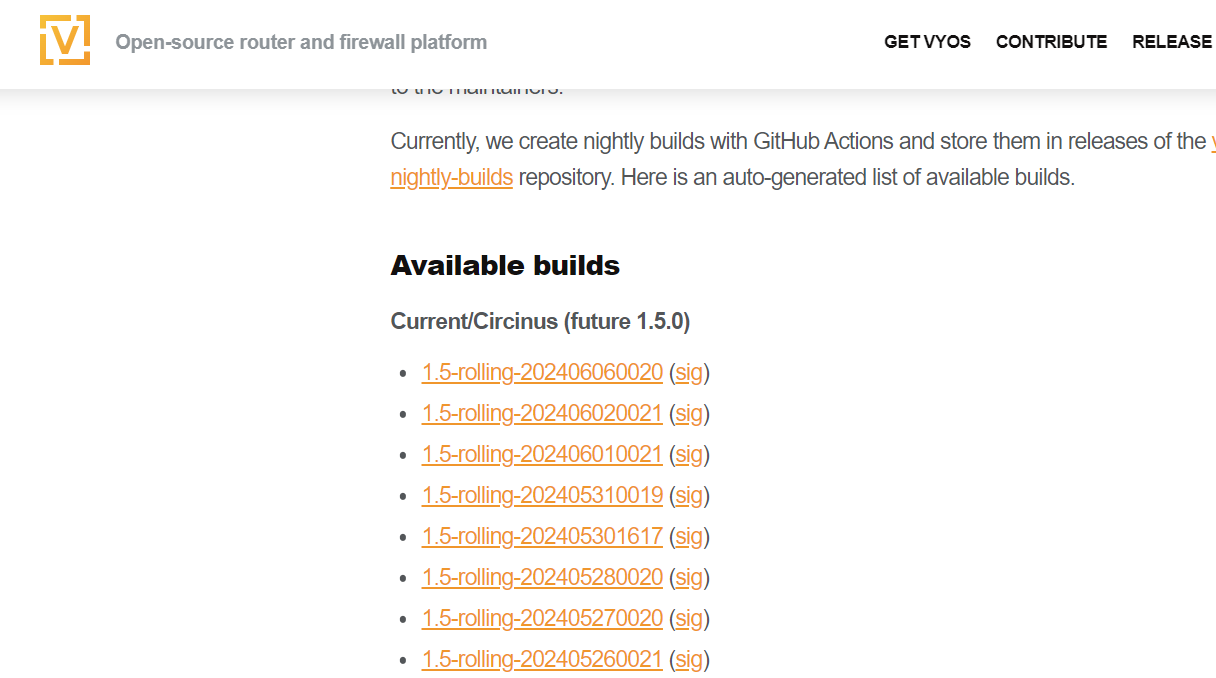
VyOS nightly builds are automatically produced from the current branch every day. These builds include all the latest code from maintainers and community contributors.
For those who need long-term support (LTS) versions, VyOS offers subscription-based options, which you can learn more about on their website. However, for my use case, I'm going to download one of the rolling release ISO files. This allows me to access the latest features and updates without any cost.
Installing VyOS on VMware Workstation
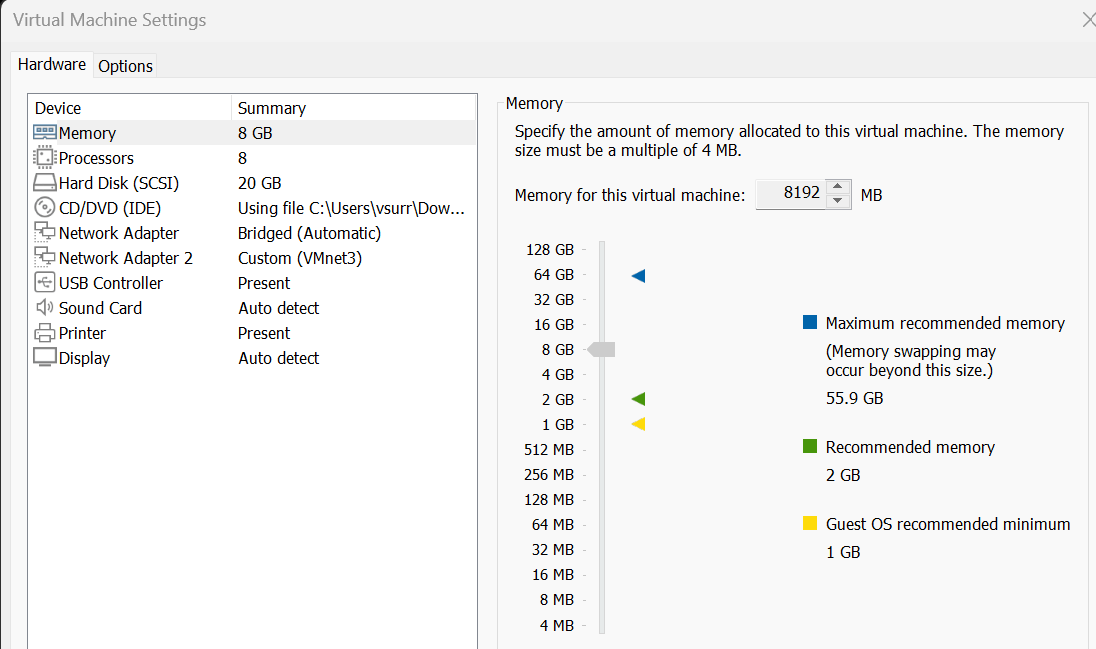
I'm installing VyOS on my VMware Workstation. My PC has two network cards, one for the internal network and one that connects directly to my ISP network for Internet access.
To set up the VM, follow these steps on your hypervisor.
- Create a New VM - Start by creating a new virtual machine as you normally would.
- Allocate Resources - I've allocated 8GB of RAM and a 20GB hard disk for the VM.
- Select OS - When prompted to select the operating system, choose 'Debian 10.x 64-bit'.
- Add Network Interfaces - Add two network interfaces to the VM – one for the internal network and one for the external connection.
Once you have your VM configured, just power it on. It will boot up in just a couple of minutes.
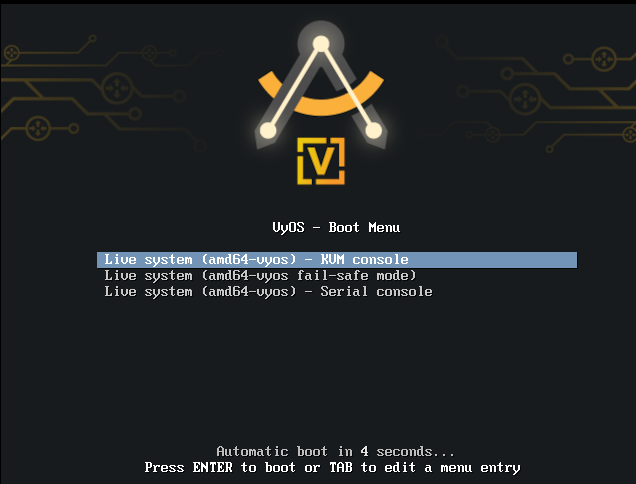
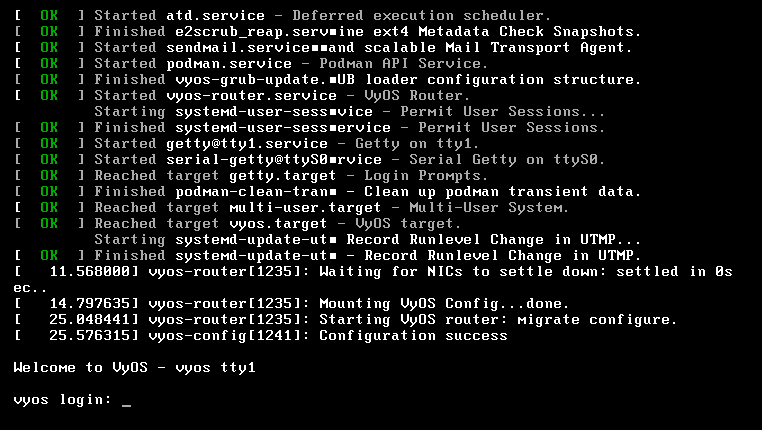
You can then log in with the default credentials vyos/vyos. Finally, install the image to the disk with a simple command as shown below.
install imageIt's as simple as that. In the next section, we'll dive into some basic configurations to get your VyOS firewall operational.
Initial Configurations
For the initial configuration, we need to assign IP addresses to both network interfaces and allow SSH access so that I can manage the firewall remotely instead of working directly on the VM console.
configureset interfaces ethernet eth0 address '192.168.0.17/24'
set interfaces ethernet eth0 description 'outside'
set interfaces ethernet eth1 address '10.10.0.130/16'
set interfaces ethernet eth1 description 'inside'set service ssh port '22'commitNow that the changes are committed, I should be able to SSH to the firewall.
PS C:\Users\vsurr> ssh vyos@10.10.0.130
vyos@10.10.0.130's password:
Welcome to VyOS!

   ┌── ┐
   . VyOS 1.5-rolling-202406020021
   └ ──┘  current

 * Documentation:  https://docs.vyos.io/en/latest
 * Project news:   https://blog.vyos.io
 * Bug reports:    https://vyos.dev

You can change this banner using "set system login banner post-login" command.

VyOS is a free software distribution that includes multiple components,
you can check individual component licenses under /usr/share/doc/*/copyright
Last login: Sun Jun  9 11:44:36 2024 from 10.10.0.11
Once we can SSH into VyOS, we can start making some more changes, like adding a default route and configuring a NAT policy. The NAT policy is necessary so that when the internal subnet (10.10.0.0/16) accesses the Internet, its source IP addresses will be translated to the IP address of the outside interface (192.168.0.17).
set protocols static route 0.0.0.0/0 next-hop 192.168.0.1set nat source rule 100 outbound-interface name 'eth0'
set nat source rule 100 source address '10.10.0.0/16'
set nat source rule 100 translation address 'masquerade'commitTrying Out Firewall Policies
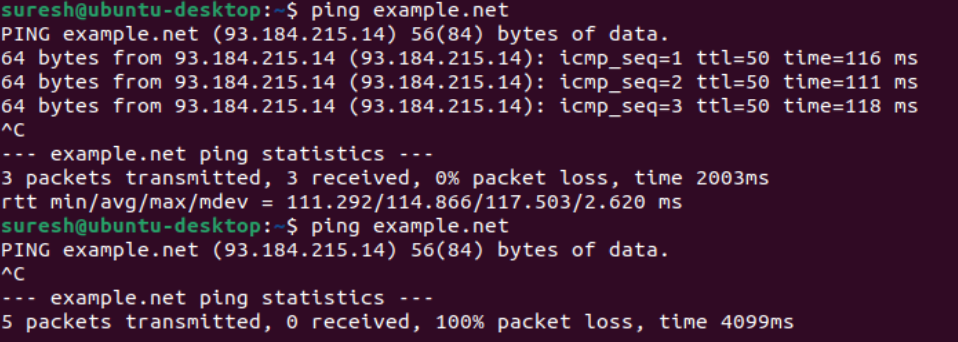
Finally, I want to test out the VyOS firewall policy. I didn't spend a lot of time working with firewall rules, but here is a simple example that blocks access to a specific IP (93.184.215.14) and permits everything else. Additionally, I am logging the traffic to verify the rules.
- Create a Firewall Rule - Set up a rule to block access to a specific IP address.
- Permit All Other Traffic - Ensure that all other traffic is allowed.
- Enable Logging - Log the traffic to verify the rules.
This basic setup helps to understand how VyOS handles firewall rules and logging.
set firewall ipv4 forward filter rule 1 action 'drop'
set firewall ipv4 forward filter rule 1 destination address '93.184.215.14'
set firewall ipv4 forward filter rule 1 log
set firewall ipv4 forward filter rule 1 source address '10.10.0.25'
set firewall ipv4 forward filter rule 10 action 'accept'
set firewall ipv4 forward filter rule 10 destination address '0.0.0.0/0'
set firewall ipv4 forward filter rule 10 log
set firewall ipv4 forward filter rule 10 source address '10.10.0.25'
You can always view these configurations in a hierarchical format instead of using the set commands, which provides a clearer and more organized view of the firewall rules and their priorities.
firewall {
    ipv4 {
        forward {
            filter {
                rule 1 {
                    action drop
                    destination {
                        address 93.184.215.14
                    }
                    log
                    source {
                        address 10.10.0.25
                    }
                }
                rule 10 {
                    action accept
                    destination {
                        address 0.0.0.0/0
                    }
                    log
                    source {
                        address 10.10.0.25
                    }
                }
            }
        }
    }
}
Here is an example output from the client before and after applying the rules.
Understanding the Firewall Logs
To understand how the firewall rules are applied, let's look at the two log entries below. These logs show the action taken by the firewall on specific packets.
Log Entry 1 (Dropping Traffic)
Jun 09 12:13:46 kernel: [ipv4-FWD-filter-1-D]IN=eth1 OUT=eth0
MAC=00:0c:29:bc:2b:1f:3e:2e:ac:b7:9e:95:08:00 SRC=10.10.0.25
DST=93.184.215.14 LEN=84 TOS=0x00 PREC=0x00 TTL=63
ID=60291 DF PROTO=ICMP TYPE=8 CODE=0 ID=10 SEQ=1- Action - Dropped (
-D) - Source IP - 10.10.0.25
- Destination IP - 93.184.215.14
- Protocol - ICMP (Ping)
This log entry indicates that the firewall dropped an ICMP packet (ping) from 10.10.0.25 to 93.184.215.14. The -D at the end of [ipv4-FWD-filter-1-D] shows that the traffic was denied.
Log Entry 2 (Allowing Traffic)
Jun 09 12:23:36 kernel: [ipv4-FWD-filter-10-A]IN=eth1 OUT=eth0
MAC=00:0c:29:bc:2b:1f:3e:2e:ac:b7:9e:95:08:00 SRC=10.10.0.25
DST=185.125.190.96 LEN=60 TOS=0x00 PREC=0x00 TTL=63
ID=4082 DF PROTO=TCP SPT=36688 DPT=80 WINDOW=64240 RES=0x00 SYN URGP=0- Action - Allowed (
-A) - Source IP - 10.10.0.25
- Destination IP - 185.125.190.96
- Protocol - TCP (HTTP request)
This log entry shows that the firewall allowed a TCP packet from 10.10.0.25 to 185.125.190.96 on port 80 (HTTP). The -A at the end of [ipv4-FWD-filter-10-A] indicates that the traffic was accepted.
Closing Up
I hope this gives you a good start with VyOS, and I highly recommend checking it out to see if it suits your needs. I haven't spent much time with it yet, but I'm planning to try out WireGuard VPN soon, so stay tuned for a blog post on that.