
In this blog post, we will walk you through the process of installing LibreNMS as a Docker container on MacOS. Don't worry if you're using Windows or Linux—the steps we cover here will be identical across all these platforms.
Overview
I want to start off by saying that I'm no Docker expert. My approach here is pretty straightforward, I'll be cloning the LibreNMS repository, making a small adjustment, and then running Docker Compose to get everything up and running.
You might be wondering, "Why use Docker for this?" That's a great question. Traditionally, my go-to method would be to spin up a new Linux VM, set it up, and then follow the step-by-step instructions to install LibreNMS. However, I'm not a Linux expert either, and more often than not, despite closely following the guide, I end up encountering issues that derail the installation.
This is where Docker shines. With Docker, you don't have to worry about these complexities. You can run the entire LibreNMS stack locally on your laptop without the need for a dedicated Linux VM. It's simpler, less error-prone, and lets you focus on using LibreNMS rather than wrestling with its installation.
Docker Basics
This blog post assumes you have some basic understanding of Docker. If you're completely new to it, don't worry—I've got you covered. I have a series of blog posts dedicated to Docker basics that can help you get up to speed.
 Suresh Vina
Clone the Repo
The first step in this process is to clone the LibreNMS Docker repository onto your local machine. You can do so by using the git clone command. The repository is available on GitHub, and you can find it here.
After you've cloned the repo, navigate to the examples > compose directory. This is where the Docker Compose file for LibreNMS is located. This file will contain all the instructions needed to set up your LibreNMS Docker container.
➜  compose git:(blog) ✗ pwd
/Users/suresh/Documents/docker/examples/compose
➜  compose git:(blog) ✗ ls
compose.yml  db           librenms     librenms.env msmtpd.env
What is Docker Compose?
Docker Compose is a tool that helps you manage multiple Docker containers at once. Think of it as a script that sets up your whole application, including all the parts that your application needs to run, like databases, web servers, and so on. Instead of running a bunch of complicated Docker commands to get everything up and running, you can just run one simple command with Docker Compose. Here is the compose file for LibreNMS.
name: librenms

services:
  db:
    image: mariadb:10.5
    container_name: librenms_db
    command:
      - "mysqld"
      - "--innodb-file-per-table=1"
      - "--lower-case-table-names=1"
      - "--character-set-server=utf8mb4"
      - "--collation-server=utf8mb4_unicode_ci"
    volumes:
      - "./db:/var/lib/mysql"
    environment:
      - "TZ=${TZ}"
      - "MYSQL_ALLOW_EMPTY_PASSWORD=yes"
      - "MYSQL_DATABASE=${MYSQL_DATABASE}"
      - "MYSQL_USER=${MYSQL_USER}"
      - "MYSQL_PASSWORD=${MYSQL_PASSWORD}"
    restart: always

  redis:
    image: redis:5.0-alpine
    container_name: librenms_redis
    environment:
      - "TZ=${TZ}"
    restart: always

  msmtpd:
    image: crazymax/msmtpd:latest
    container_name: librenms_msmtpd
    env_file:
      - "./msmtpd.env"
    restart: always

  librenms:
    image: librenms/librenms:latest
    container_name: librenms
    hostname: librenms
    cap_add:
      - NET_ADMIN
      - NET_RAW
    ports:
      - target: 8000
        published: 8000
        protocol: tcp
    depends_on:
      - db
      - redis
      - msmtpd
    volumes:
      - "./librenms:/data"
    env_file:
      - "./librenms.env"
    environment:
      - "TZ=${TZ}"
      - "PUID=${PUID}"
      - "PGID=${PGID}"
      - "DB_HOST=db"
      - "DB_NAME=${MYSQL_DATABASE}"
      - "DB_USER=${MYSQL_USER}"
      - "DB_PASSWORD=${MYSQL_PASSWORD}"
      - "DB_TIMEOUT=60"
    restart: always

  dispatcher:
    image: librenms/librenms:latest
    container_name: librenms_dispatcher
    hostname: librenms-dispatcher
    cap_add:
      - NET_ADMIN
      - NET_RAW
    depends_on:
      - librenms
      - redis
    volumes:
      - "./librenms:/data"
    env_file:
      - "./librenms.env"
    environment:
      - "TZ=${TZ}"
      - "PUID=${PUID}"
      - "PGID=${PGID}"
      - "DB_HOST=db"
      - "DB_NAME=${MYSQL_DATABASE}"
      - "DB_USER=${MYSQL_USER}"
      - "DB_PASSWORD=${MYSQL_PASSWORD}"
      - "DB_TIMEOUT=60"
      - "DISPATCHER_NODE_ID=dispatcher1"
      - "SIDECAR_DISPATCHER=1"
    restart: always

  syslogng:
    image: librenms/librenms:latest
    container_name: librenms_syslogng
    hostname: librenms-syslogng
    cap_add:
      - NET_ADMIN
      - NET_RAW
    depends_on:
      - librenms
      - redis
    ports:
      - target: 514
        published: 514
        protocol: tcp
      - target: 514
        published: 514
        protocol: udp
    volumes:
      - "./librenms:/data"
    env_file:
      - "./librenms.env"
    environment:
      - "TZ=${TZ}"
      - "PUID=${PUID}"
      - "PGID=${PGID}"
      - "DB_HOST=db"
      - "DB_NAME=${MYSQL_DATABASE}"
      - "DB_USER=${MYSQL_USER}"
      - "DB_PASSWORD=${MYSQL_PASSWORD}"
      - "DB_TIMEOUT=60"
      - "SIDECAR_SYSLOGNG=1"
    restart: always

  snmptrapd:
    image: librenms/librenms:latest
    container_name: librenms_snmptrapd
    hostname: librenms-snmptrapd
    cap_add:
      - NET_ADMIN
      - NET_RAW
    depends_on:
      - librenms
      - redis
    ports:
      - target: 162
        published: 162
        protocol: tcp
      - target: 162
        published: 162
        protocol: udp
    volumes:
      - "./librenms:/data"
    env_file:
      - "./librenms.env"
    environment:
      - "TZ=${TZ}"
      - "PUID=${PUID}"
      - "PGID=${PGID}"
      - "DB_HOST=db"
      - "DB_NAME=${MYSQL_DATABASE}"
      - "DB_USER=${MYSQL_USER}"
      - "DB_PASSWORD=${MYSQL_PASSWORD}"
      - "DB_TIMEOUT=60"
      - "SIDECAR_SNMPTRAPD=1"
    restart: always
In this Docker Compose file, you'll see multiple services like 'db' for the database, 'redis' for caching, 'msmtpd' for email delivery, and of course, 'librenms' as the main application among others. Each service specifies the image to use, the container name, any special permissions it needs, what ports to expose, volumes, and so forth. The env_file and environment sections are where environment variables are set or imported. These variables influence the behaviour of the containers.
In the same directory as this Docker Compose file, you'll find .env files. These files contain default values for the various environment variables used by the services. For instance, you'll see variables like MEMORY_LIMIT, MAX_INPUT_VARS, and UPLOAD_MAX_SIZE that control the PHP settings within the LibreNMS container. You should definitely customize these values to fit your needs.
Pay special attention to password fields and change them from their default values for better security. For example, the file may have a MYSQL_PASSWORD or LIBRENMS_SNMP_COMMUNITY that you should update with your own secure passwords.
Caveats
When I initially ran the container, I encountered an error message stating, "the data directory resides on a case-insensitive file system. Please use a case-sensitive file system for your data directory or switch to a case-insensitive table name mode."
This issue likely arose because I was using macOS, which has a case-insensitive file system by default. To resolve this, I had to change the value of the --lower-case-table-names option from 0 to 1 in the docker-compose.yml file. This change effectively told the database to operate in a case-insensitive mode, thus bypassing the issue.
Docker Compose Up
When you run the docker compose up -d command, a series of operations are triggered. The -d flag means it will run in "detached" mode, meaning it will run in the background, freeing up your terminal. Firstly, Docker pulls the necessary images for each service defined in the docker-compose.yml file.
In the below output, we can see that images for services like syslogng, dispatcher, db, redis, msmtpd, librenms, and snmptrapd were successfully pulled. The 'Pulled' messages indicate that Docker has downloaded these images.
➜  compose git:(blog) ✗ docker compose up -d
[+] Running 36/7
 ✔ syslogng Pulled                                                                                                                                                                    28.2s
 ✔ dispatcher 9 layers [⣿⣿⣿⣿⣿⣿⣿⣿⣿]      0B/0B      Pulled                                                                                                                             28.2s
 ✔ db 8 layers [⣿⣿⣿⣿⣿⣿⣿⣿]      0B/0B      Pulled                                                                                                                                      18.0s
 ✔ redis 6 layers [⣿⣿⣿⣿⣿⣿]      0B/0B      Pulled                                                                                                                                     14.8s
 ✔ msmtpd 6 layers [⣿⣿⣿⣿⣿⣿]      0B/0B      Pulled                                                                                                                                    16.7s
 ✔ librenms Pulled                                                                                                                                                                    28.2s
 ✔ snmptrapd Pulled                                                                                                                                                                   28.2s
[+] Running 8/8
 ✔ Network librenms_default       Created                                                                                                                                              0.0s
 ✔ Container librenms_db          Started                                                                                                                                              1.2s
 ✔ Container librenms_redis       Started                                                                                                                                              1.3s
 ✔ Container librenms_msmtpd      Started                                                                                                                                              1.0s
 ✔ Container librenms             Started                                                                                                                                              1.3s
 ✔ Container librenms_dispatcher  Started                                                                                                                                              1.7s
 ✔ Container librenms_snmptrapd   Started                                                                                                                                              2.1s
 ✔ Container librenms_syslogng    Started
Next, Docker creates the network and starts the containers for each service. Containers for librenms_db, librenms_redis, librenms_msmtpd, librenms, librenms_dispatcher, librenms_snmptrapd, and librenms_syslogng are started as indicated by the 'Started' messages. Each of these containers is an isolated environment running a specific service, and they can communicate with each other over the defined network.
So, in summary, this command initializes your LibreNMS environment by downloading the necessary images and running the containers, all in detached mode so you can continue using your terminal.
Accessing LibreNMS GUI
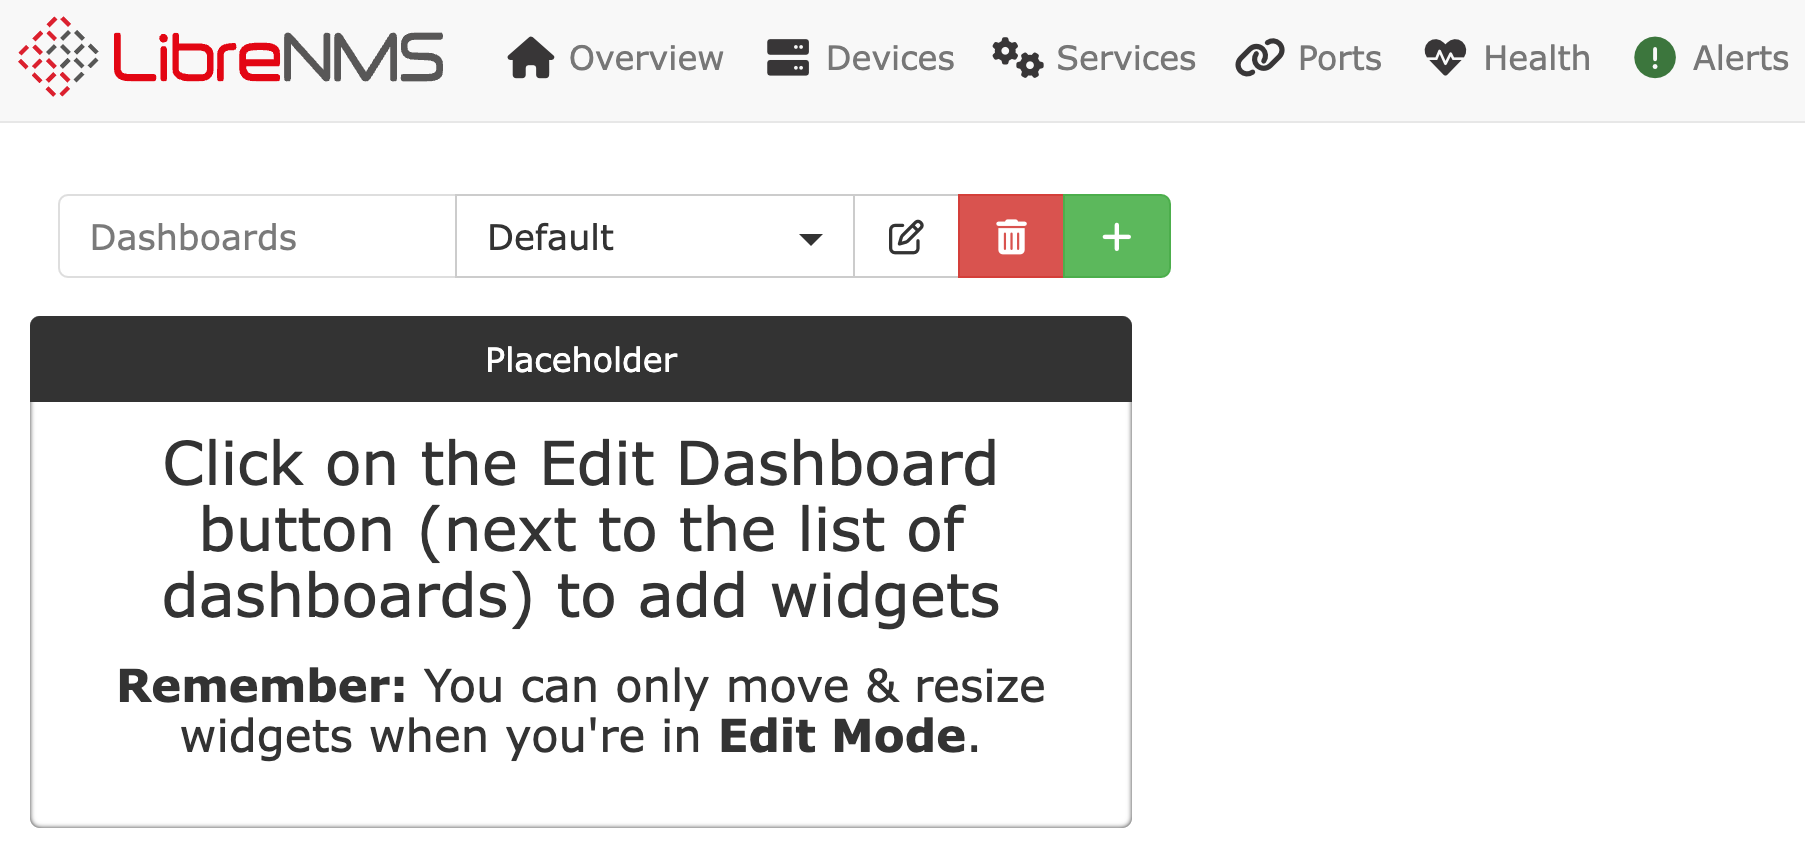
Once you've completed the Docker part, you're all set to access the LibreNMS GUI. Open your web browser and navigate to http://localhost:8000. You should be greeted with the LibreNMS login page.
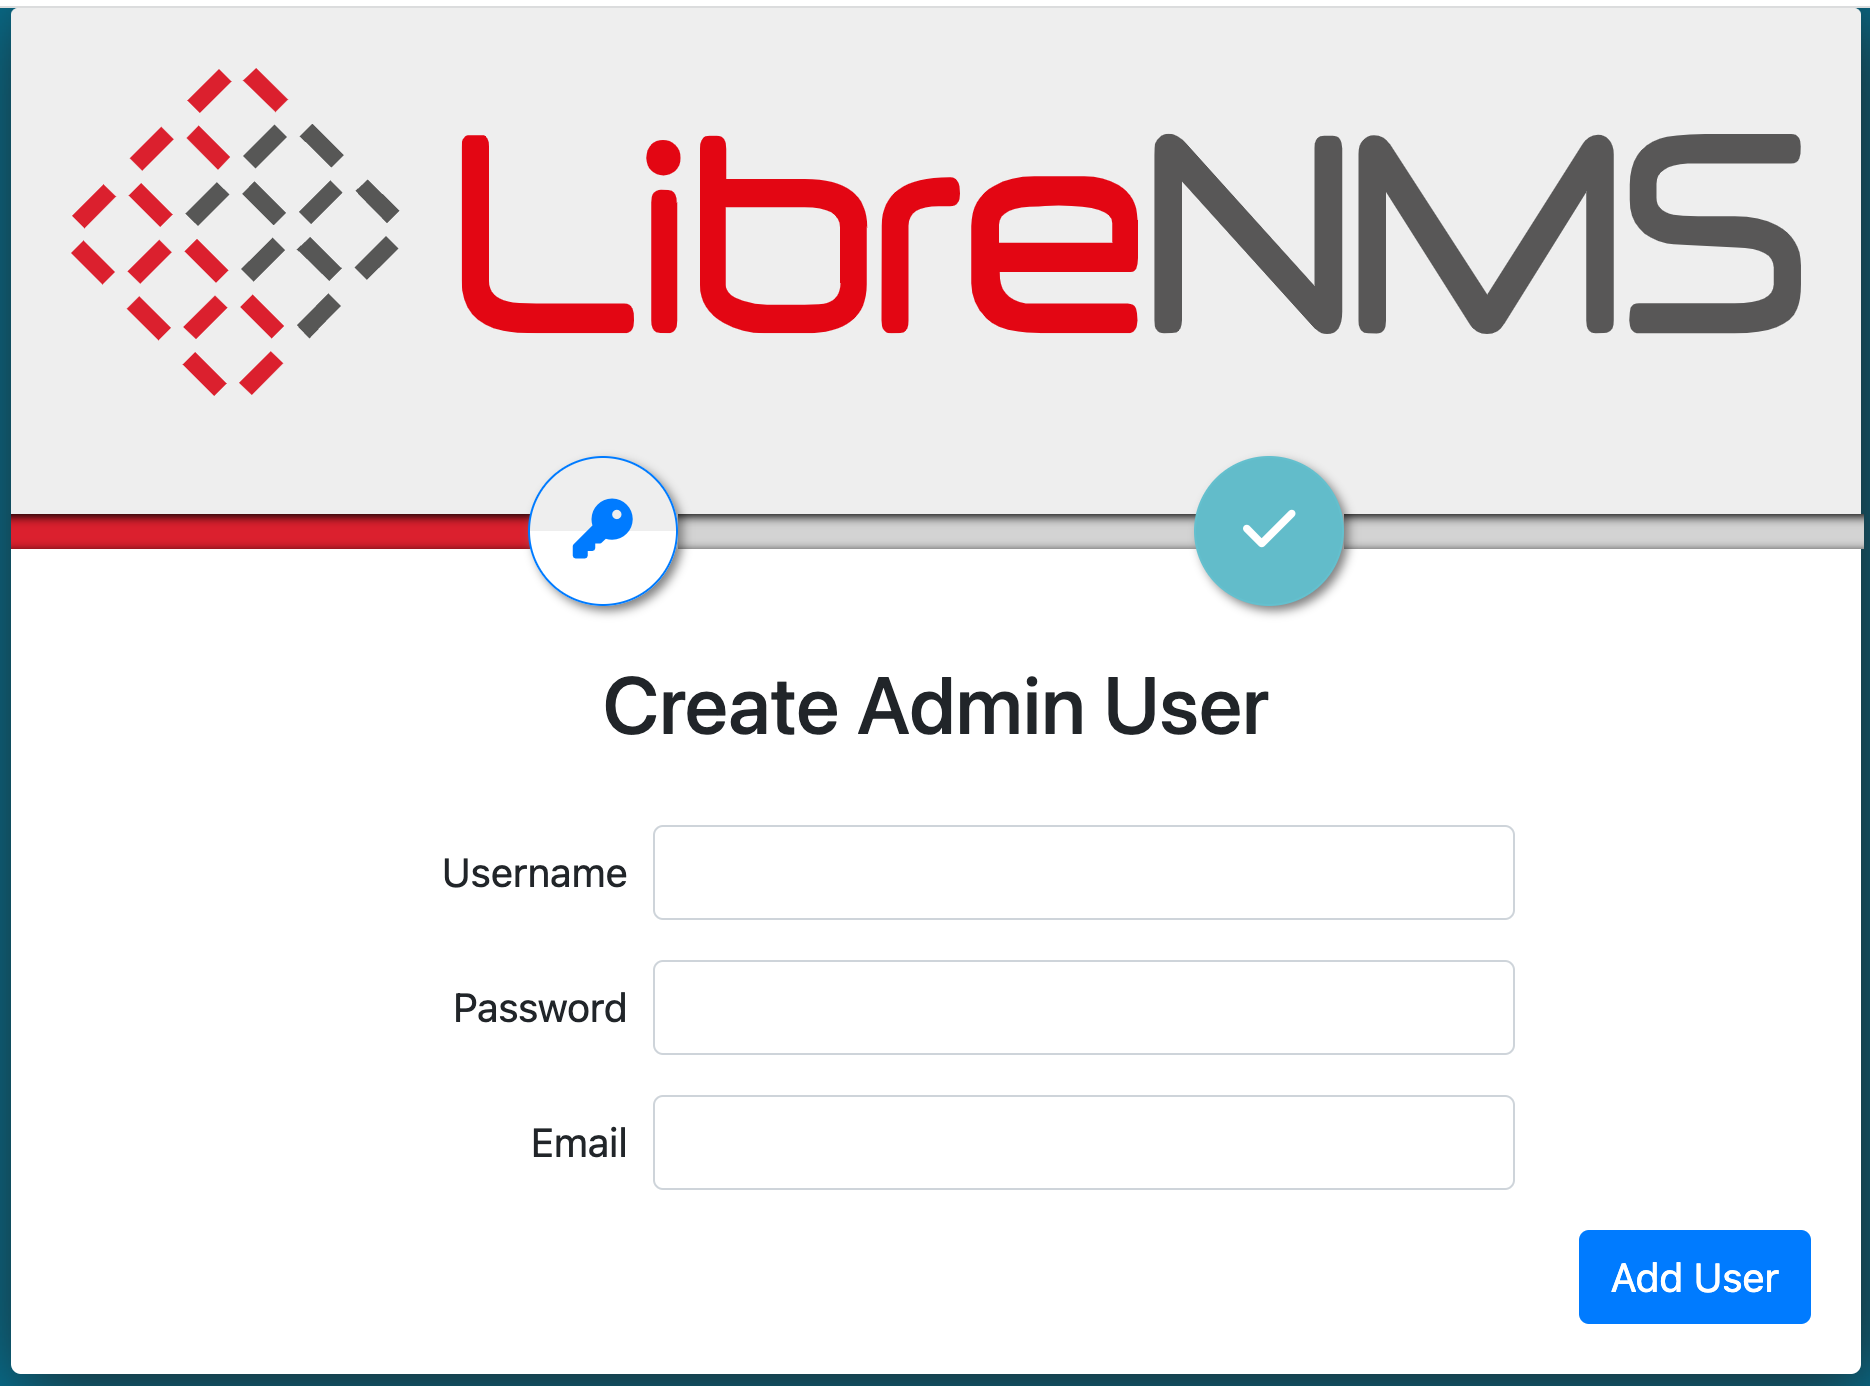
Use 'librenms' for both the username and password to log in. And there you have it—you now have a fully functional LibreNMS setup running directly on your laptop, without the need for a separate Linux virtual machine or any complicated installation steps.
Stopping the Services
To wrap things up, stopping your LibreNMS services is just as straightforward as starting them. You can use the command docker compose down to stop all the services gracefully. And the best part? When you're ready to use LibreNMS again, you can easily bring all the services back up with docker compose up.
➜  compose git:(blog) ✗ docker compose down
[+] Running 8/7
 ✔ Container librenms_syslogng    Removed                                                                                                                                             10.4s
 ✔ Container librenms_dispatcher  Removed                                                                                                                                             10.4s
 ✔ Container librenms_snmptrapd   Removed                                                                                                                                             10.4s
 ✔ Container librenms             Removed                                                                                                                                             10.2s
 ✔ Container librenms_redis       Removed                                                                                                                                              0.2s
 ✔ Container librenms_msmtpd      Removed                                                                                                                                             10.1s
 ✔ Container librenms_db          Removed                                                                                                                                              0.4s
 ✔ Network librenms_default       Removed                                                                                                                                              0.0s
Conclusion
In conclusion, Docker has significantly simplified the process of setting up LibreNMS for me. My usual approach would involve setting up a new Linux VM and then installing LibreNMS, which could be both time-consuming and resource-intensive. Using Docker, I was able to get everything up and running quickly and efficiently, right on my own laptop. If you have any feedback or questions, feel free to share them in the comments below.


